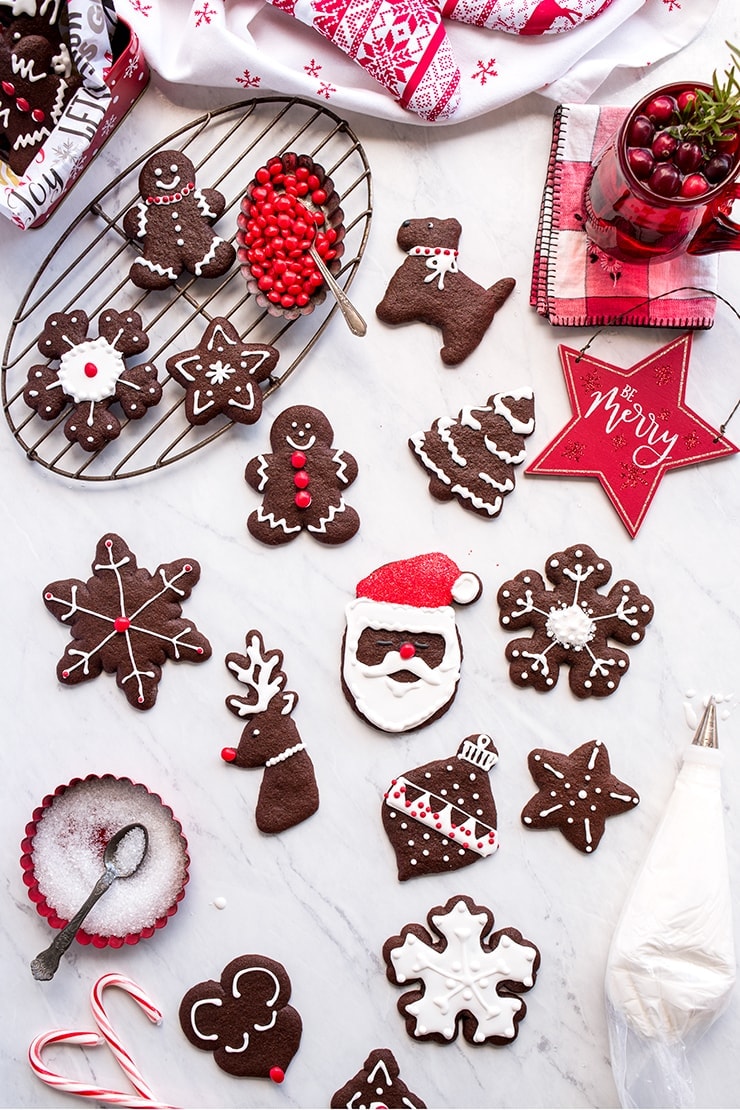
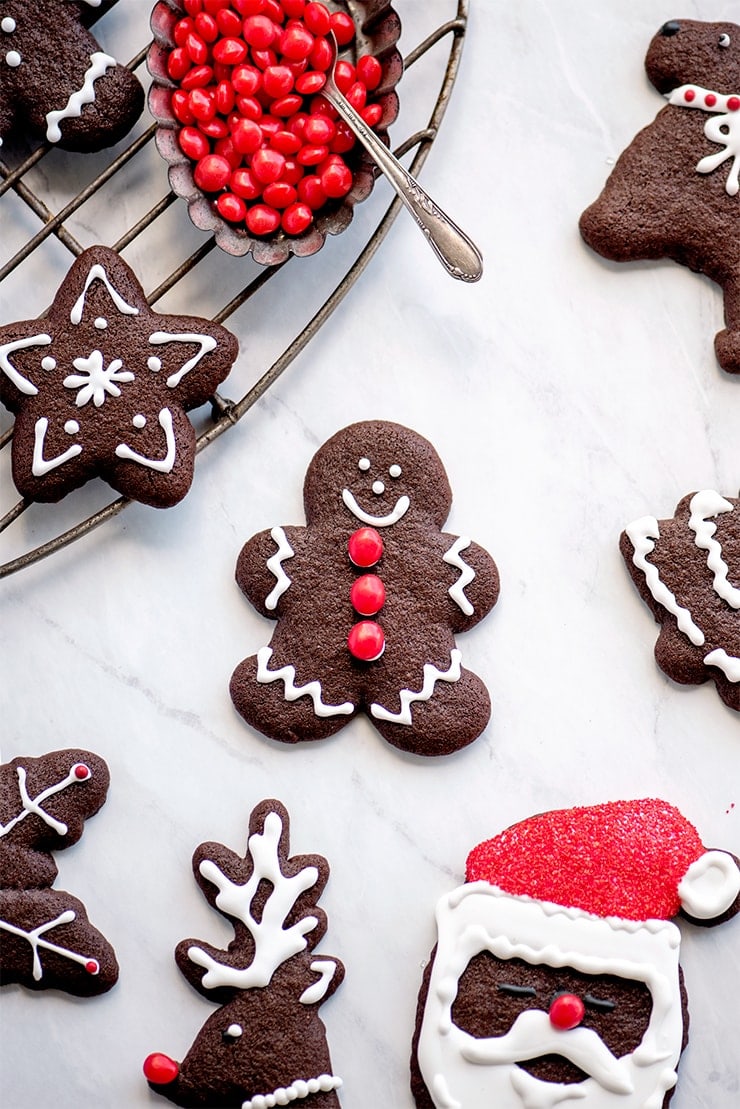
This Christmas cookie recipe combines the flavors of molasses and cocoa for a rolled chocolate gingerbread cookie that is fun to bake and decorate.
Baking Christmas cookies is one of those yearly checklist kind of things. Somehow, it doesn’t feel like Christmas until I’ve rolled out a batch of cookies and then decorated them with family and friends. It’s the creative part of the season.
You can tell a lot about a person based on what their favorite cookie cutters are. Are they drawn to Rudolf or snowflakes? And when they decorate the cookies, do they prefer to cover the cookie in every sprinkle imaginable or gracefully pipe a minimalist design?
It’s one of my favorite parts of Christmas, so when I bake a batch of cookies, I’ll message the neighbors to send their kids over to help or invite a friend to come over and share a bottle of wine. Then we crank up the Christmas tunes and have a jolly good time!
Or sometimes date night turns into cookie night like it did last Saturday. Kevin and I had a blast decorating these chocolate gingerbread cookies. It was long awaited because recipe testing this cookie was not straightforward.
This might be the 7th batch? Some were too soft. Others were too hard. It took a lot of trial and error to figure out how long the cookies should be chilled, how thick they should be rolled and how long they should bake in the oven.
I feel like this is true of most rolled cookies. You want them to keep their shape but you also want the cookies to be delicious! So, I’ve balanced this recipe to have just the right amount of sweet, spice and chocolate but also be great for decorating.
For this gingerbread recipe, the key is rolling them out thinly while the dough is still a bit warm and then chilling them so they don’t spread in the oven. Fresh out of the oven they are soft and chewy on the inside with a sugary crunch on the outside. Days later, they lose their chewiness and become crisp with a crumbly texture that holds up well for gifting.
HOW TO MAKE CHOCOLATE CUT OUT COOKIES THAT HOLD THEIR SHAPE
- For this recipe, I prefer to roll them when the dough is still warm. When the dough is chilled, it’s hard on the hands and wrists and is so much work to get the dough rolled thinly and evenly.
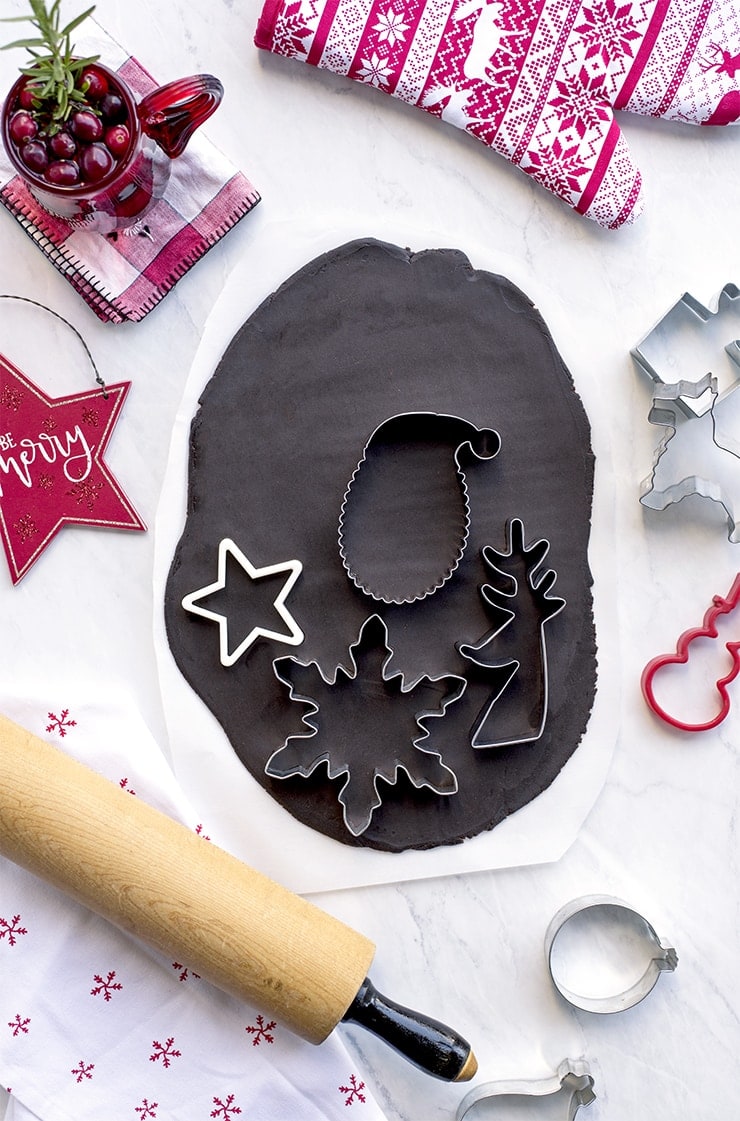
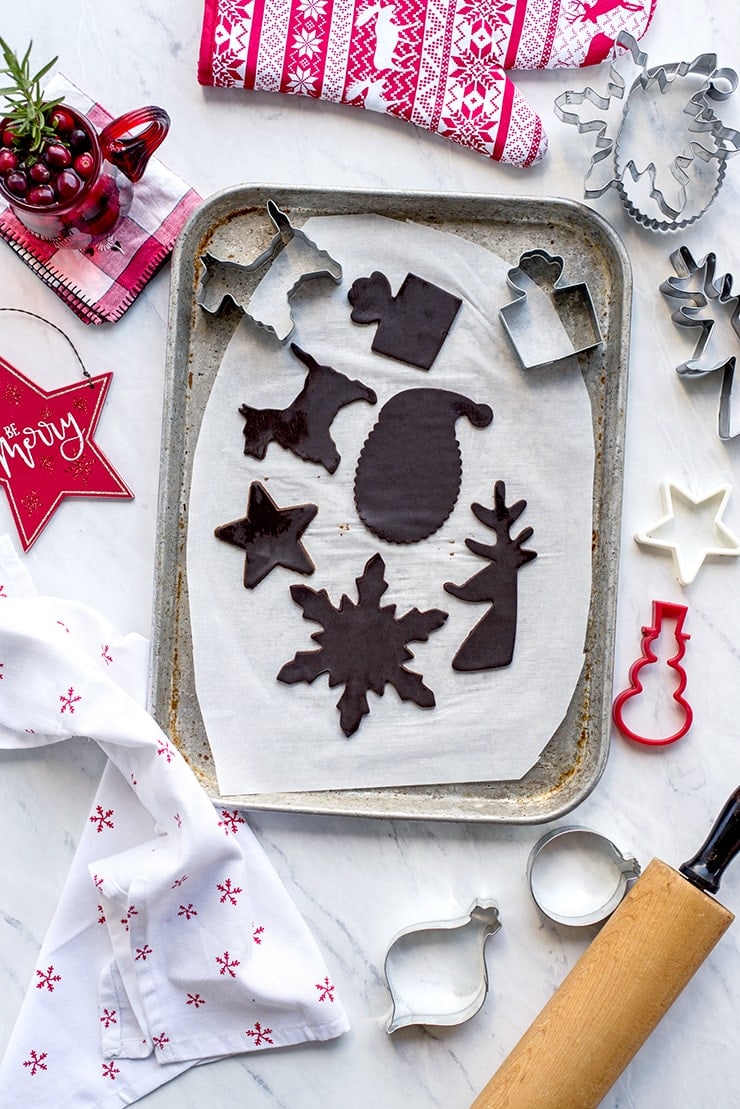
- Roll the dough out by sandwiching it between two pieces of parchment paper cut to the size of your sheet pan. If the paper starts to wrinkle, flip it over and peel up the sheet. Lay the sheet back down and continue rolling. You can flip the sheets as often as needed to ensure a smooth roll. This way you won’t add unwanted flour to the cookies, which means that you can reroll the dough more times and still get good looking cookies.
- Once the dough is rolled, cut out your cookies.
- Don’t move the cookies. Instead remove the excess dough and transfer the whole sheet of parchment to your sheet pan. For tiny areas between cookies, use a toothpick to lift the dough.
- Chill your cookies. For this recipe 60 minutes in the freezer worked best.
- Never place chilled cookies on a hot sheet pan. Always start with one that’s cold or room temperature.
- Once your cookies are chilled you can move them around so they have enough space to not run together while baking.
- Make sure that your oven is completely preheated before baking your cookies.
- Just like cakes, you can test the doneness by gently pressing your finger in the middle of a cookie. If it springs back, they’re done…but in the case of a thin chocolate cookie they may already be overdone. If you press the cookie and it mostly springs back, it’s probably done enough.
If you prefer a soft cookie, you can roll the dough thicker, upwards of 1/4 inch. You’ll have to bake them longer but they will stay soft.
However, they won’t hold their shape well. I actually really loved them this way and think that if you just want round cookies they would be perfect with buttercream and sprinkles. I’ll have to try that next!
But for now I’m all about using my HUGE collection of cookie cutters…like it’s probably upwards of three hundred with at least a third being Christmas cutters. I first became obsessed back in the late 1990s when Martha Stewart sold cookie cutters in her catalog.
Martha Stewart Living always featured the most beautiful royal icing decorated cookies, so I bought a bunch of fancy cookie cutters and tried my hand at piping. It was a royal flop! The day ended in tears and I gave up any hopes of becoming a great cookie decorator.
Fast forward the 2010s, Sweet Sugarbelle reignited my desire to decorate cookies. I finally got the hang of royal icing and even started a blog called Sweet Charity’s Chocolates. So with new found confidence my cookie cutter collection grew and grew and grew!
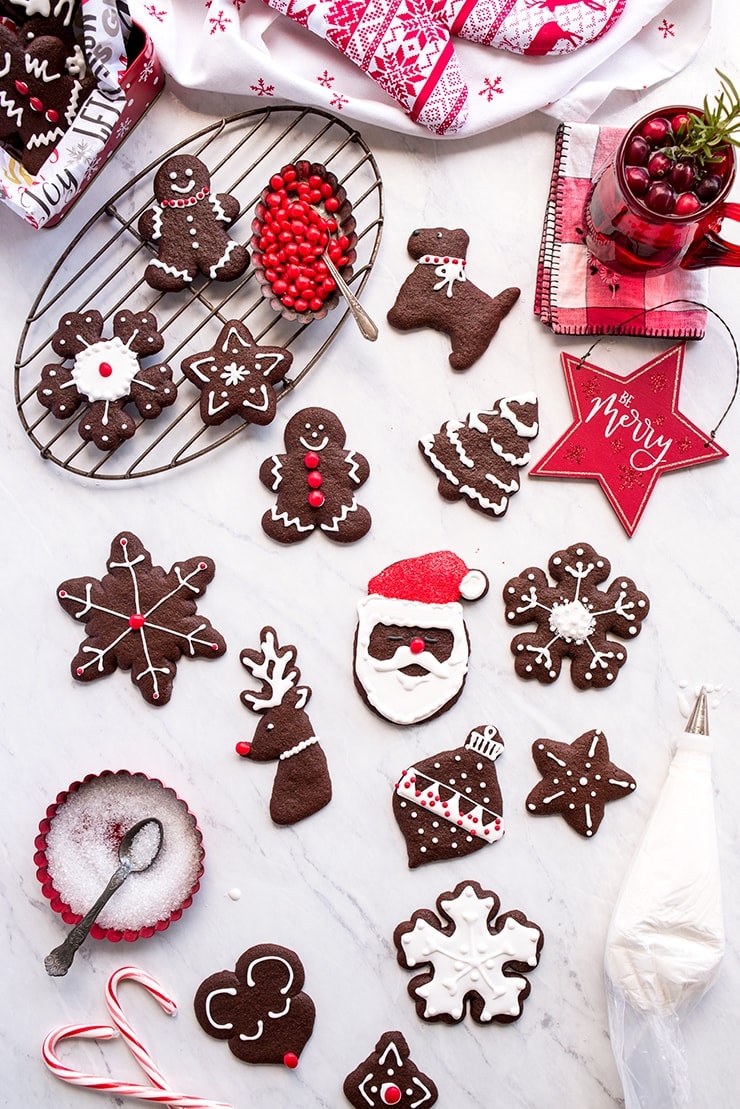
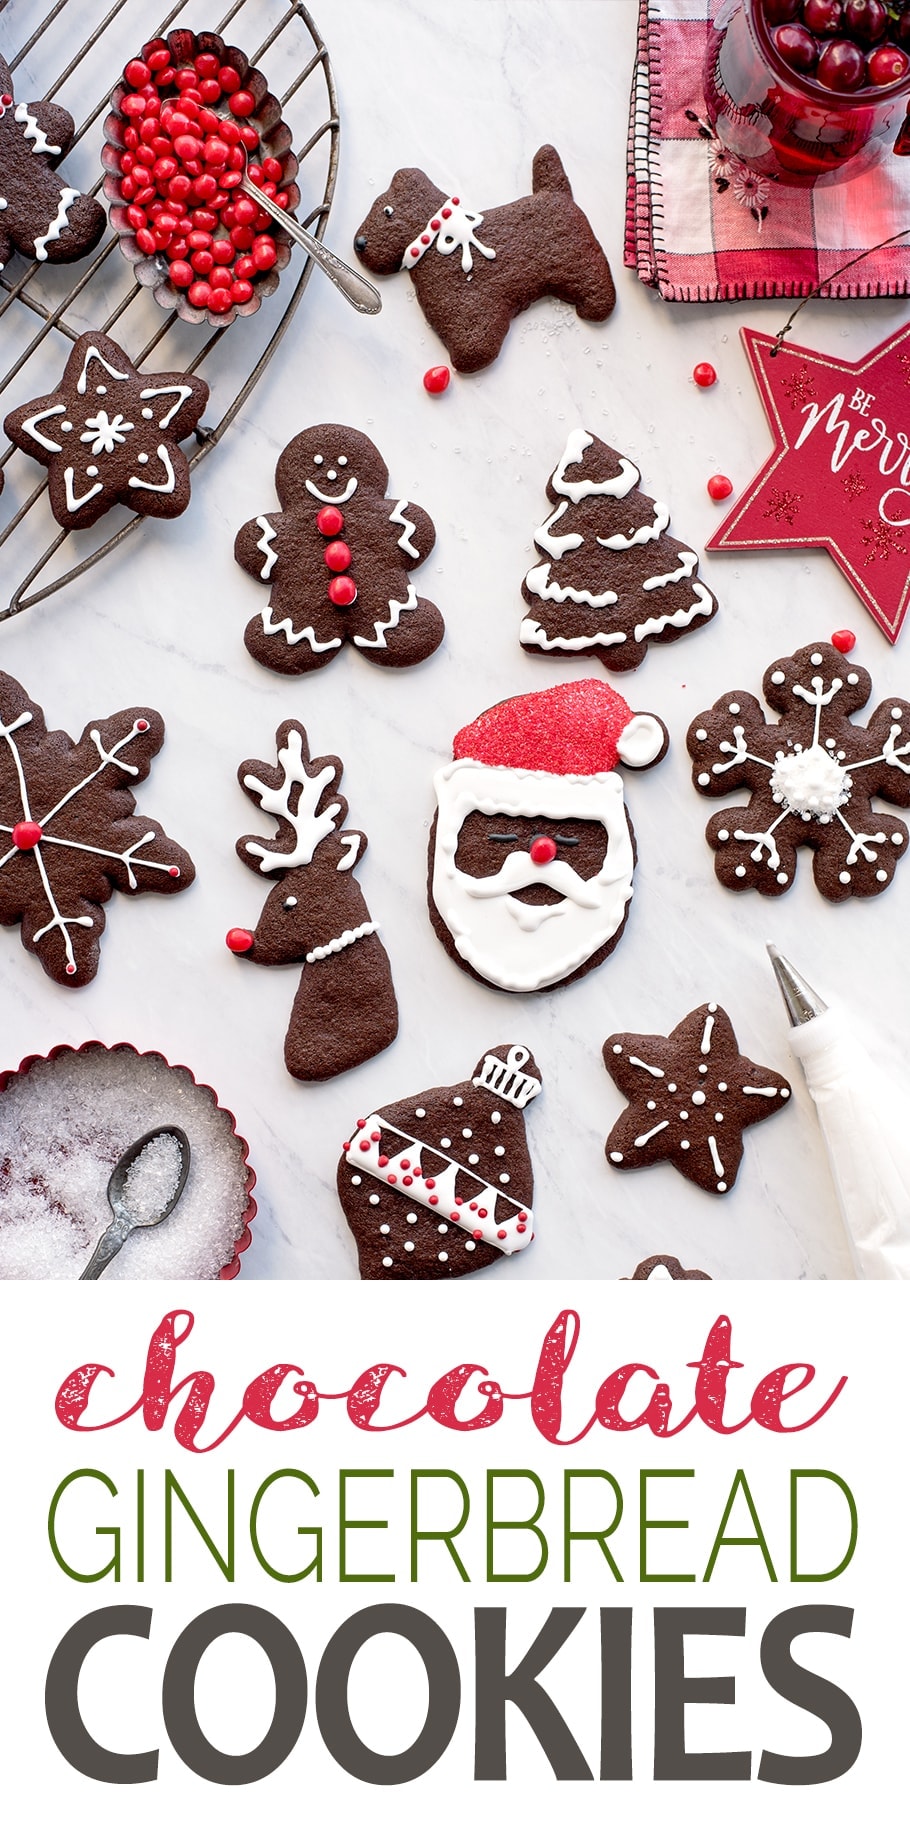
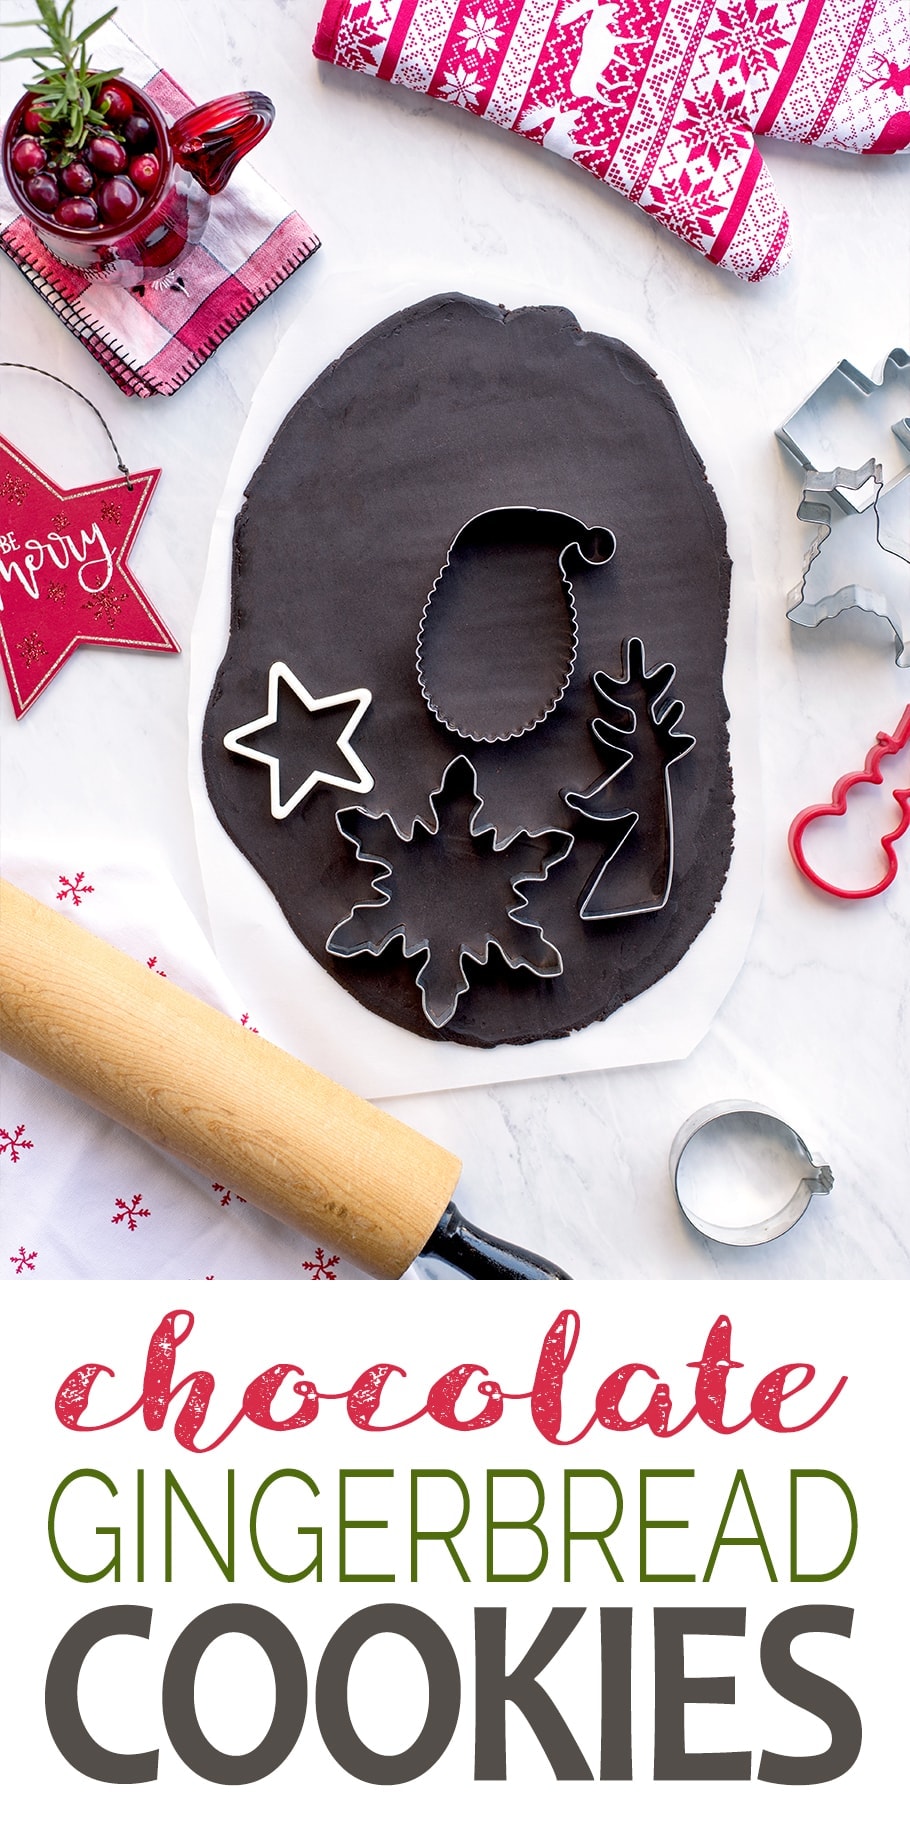
I’m not sorry either because you NEED cookie variety! For this recipe, I used some of my favorites. Both the reindeer and santa are made by Miri Miri. These are actually great gifts because they come in two packs and the shapes are anything but ordinary.
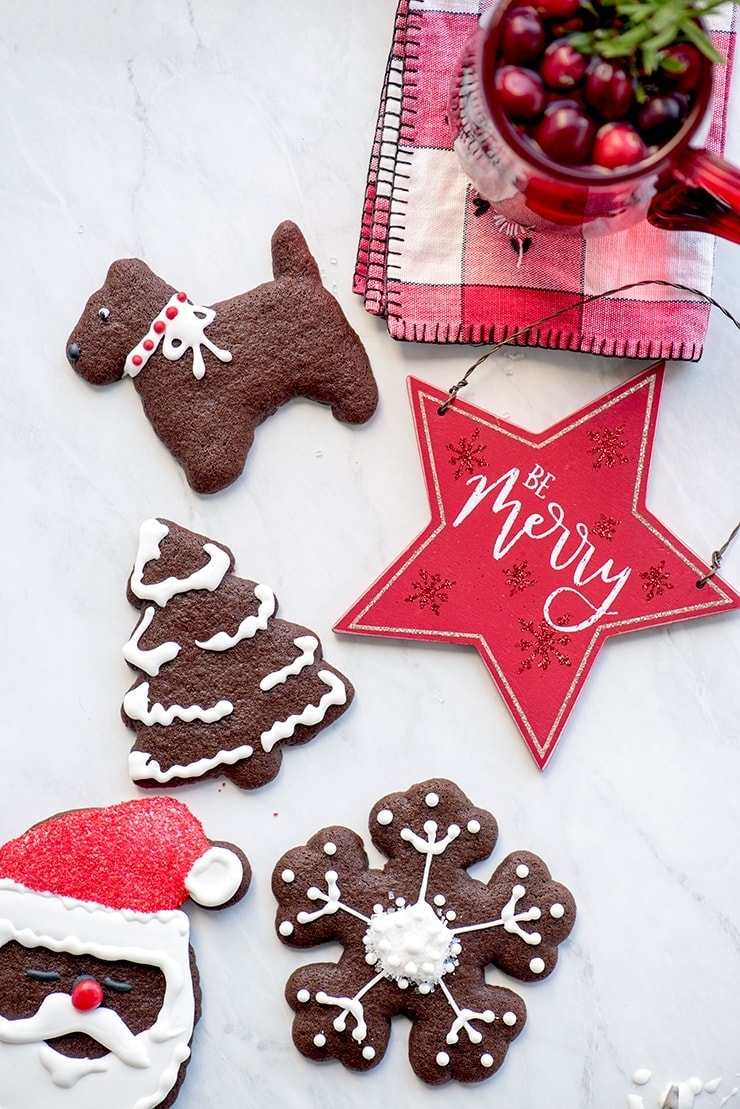
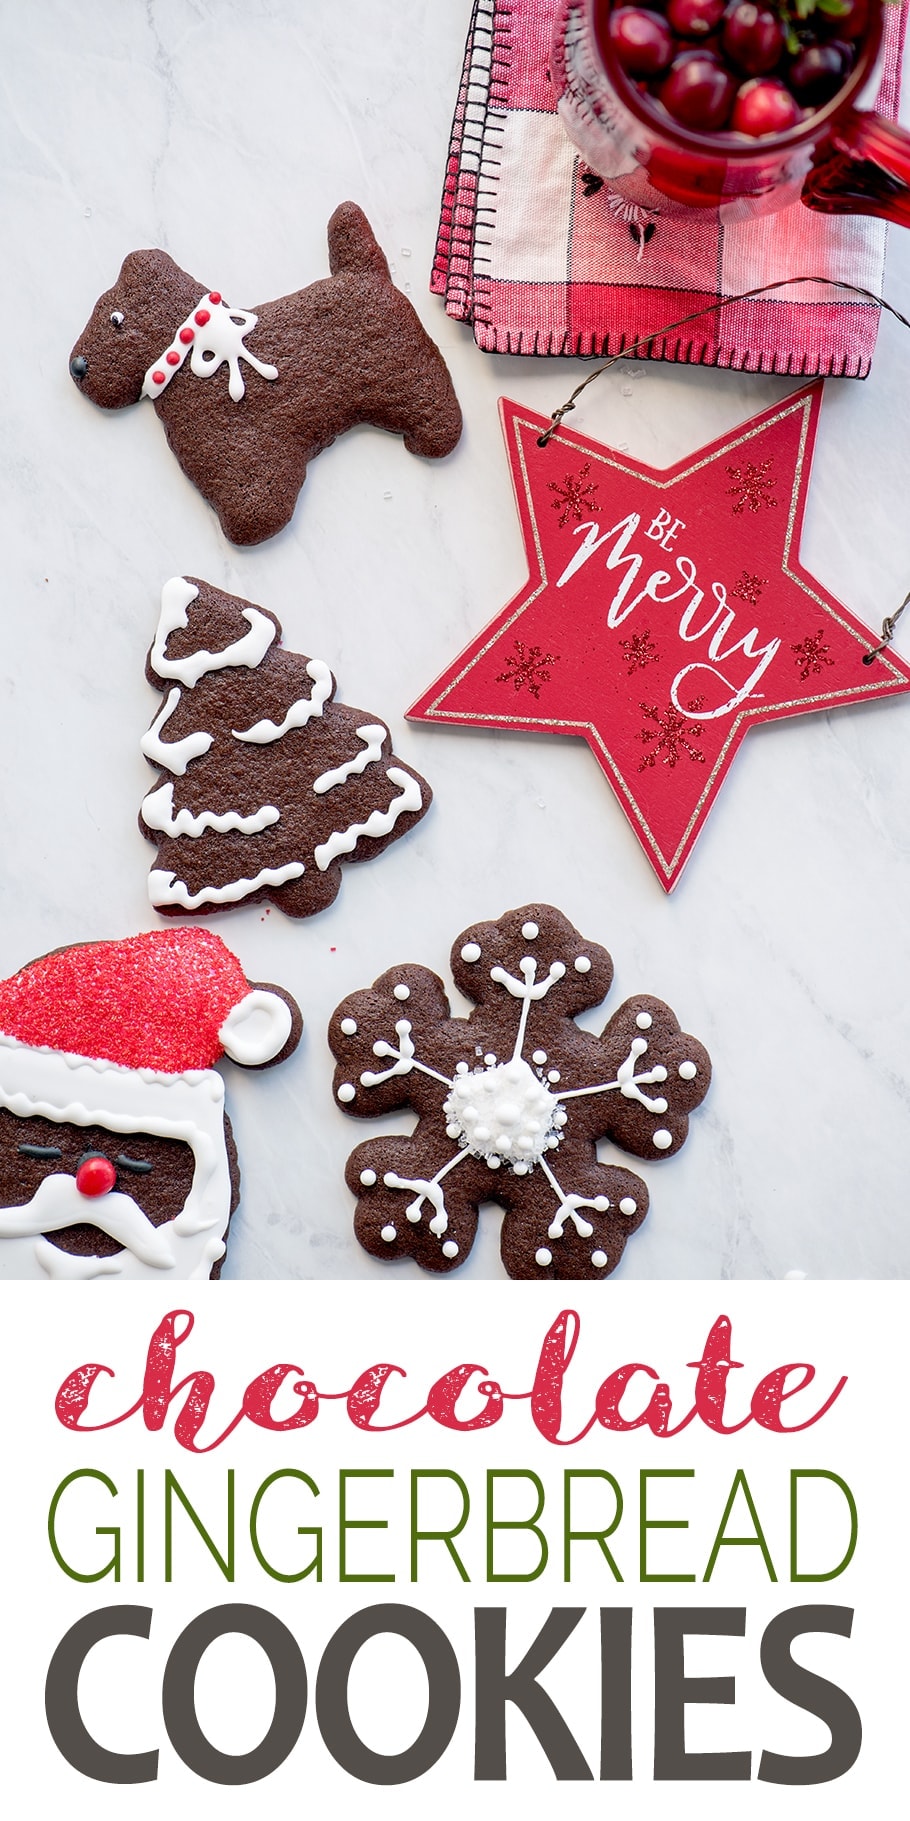
This scottie and larger snowflake are both classics made by R&M. I think the ornaments may be made by them too but I can’t find the big ornament cutter online.
I also have a ton of vintage cookie cutters in my collection. The star cutter is by far my favorite star cutter (only cookie nerds have a favorite star cutter lol). It’s the perfect size and it’s not so pointy that it loses it shape while baking. It can be found in this Christmas set on Etsy. And the mouse is not really a mouse at all! It’s from a Wilton cake decorating set but if you have imagination it’s a mouse!
I’m also fond of the smaller snowflake and the tree. They’re from a plastic set made by Kuhn Rikon, but I could not find them online nor could I find the Celebrate It gingerbread man. It is the perfect gingerbread man, so if you’re looking for one, go to Michaels because I’m pretty sure that’s where I found it.
Anyway, if you take good care of your cookie cutters, they’ll last a lifetime or maybe even longer! I’ve inherited quite a few from my mother and bought so many in antique shops. Just in case you’re a new cookie cutter collector (it’s such an affordable vice) read below for tips on caring for your collection.
Happy Baking and Happy Holidays!
xoxo Kitty
HOW TO CLEAN COOKIE CUTTERS AND THE BEST WAYS TO STORE THEM
- Always wash your cookie cutters by hand whether they are plastic or metal.
- Never soak your cookie cutters for more than 10-15 minutes. Metal cookie cutters can rust and the new plastic printed type can be made of materials sensitive to water.
- Always make sure to thoroughly dry your metal cutters as quickly as possible to prevent rust. I do this by placing them on a clean cookie sheet and popping them in the oven on warm with the door cracked.
- Take extra care with antique cutters. They may have soldering that can melt. For these, hand dry them and then use a hair dryer to dry off any remaining wet spots.
- Protect steel, aluminum and copper cutters by storing them in ziplock bags. This way they won’t rust from humid air or tarnish as quickly.
- If they came in a box, save and reuse it! The easiest way to ruin a cutter is by accidently misshaping it in an overcrowded drawer.
We hope you have fun making this chocolate gingerbread cookie recipe! Kevin and I love to get feedback. Leave a comment below or even better, show us your creations by tagging #vintagekittyblog on social media!

Chocolate Gingerbread Cookies Recipe
Ingredients
Chocolate Gingerbread Cookies
- 3½ cups sifted all purpose flour (15.75 ounces)
- ½ teaspoon sea salt
- 1 cup molasses
- ⅔ cup dark brown sugar
- 1 cup butter
- 1 tablespoon ground ginger
- 2 teaspoons ground cinnamon
- ½ teaspoon ground allspice
- ½ teaspoon ground cloves
- ½ teaspoon ground cardamom
- 2 teaspoon baking soda
- ½ cup dutch process cocoa
- 1 large egg , beaten
Royal Icing
- 3 pasteurized egg whites (see notes)
- ½ teaspoon cream of tartar
- 4¾ cups sifted powdered sugar
Instructions
How to Make Chocolate Gingerbread Cookies
- Combine the flour and salt and set aside.
- In a large dutch oven or heavy bottomed pot, combine brown sugar, molasses, spices and butter.
- Cook over medium heat, stirring constantly until butter has melted.
- Turn off the heat and stir in the baking soda. The mixture will foam up.
- Once the foaming subsides some, stir in the cocoa.
- Add the egg, mixing vigorously so that it does not cook before you get it mixed in.
- Once the egg is incorporated, add in the flour a little bit at a time
- When you reach the point your arms are too tired to keep stirring in flour, transfer to a lightly oiled work surface ( I did this on my marble countertop) or to a very large bowl. Knead in remaining flour until the dough is smooth.
- Cover the dough and let it rest until it's cooled down. At first the dough will be very shiny from the melted butter, but as it cools and the butter rehardens, the dough will start to look more matte.
- Form the dough into 3-4 disks and wrap all but one so they don't dry out.
- Roll out the first disk between two sheets of parchment paper to about 3/16th-1/8th inch thickness. You'll want your sheets to be the same size as the cookie sheet you'll be using.
- Cut out cookies then remove the excess dough but don't move the cookies. Transfer your parchment (with cookies) onto a cookie sheet and place in the freezer for 60 minutes. (Feel free to crowd the pan for freezing)
- Preheat oven to 350F
- Continue rolling out cookies with remaining dough, repeating steps above.
- When ready to bake, take your cookies out of the freezer and reposition them so they don't spread into each other while baking.
- Bake cookies 8-10 minutes. This is a guide! If you're cookies are rolled thick they will puff up and spread more and take longer. Thinner, smaller cookies may only take 6-7 minutes. My suggestion is to bake a few first to test the timing in your oven so you don't ruin a whole batch!
How to Make Royal Icing
- With a mixer, whip the egg whites with the cream of tartar until stiff peaks form.
- Slowly add in powdered sugar, whipping between additions.
- Once all the sugar has been added, thin with water one teaspoon at a time to the desired consistency. (see notes)
- Fill a pastry bag loaded with a number 2 or 3 piping tip with royal icing and place them in a large glass with a moistened paper towel in the bottom.
- Once cookies have cooled completely, have fun decorating! Make sure to leave the cookies overnight to dry.
- Keep unused icing in the refrigerator.
Notes
- Some stores carry pasteurized eggs, but many do not. You can make them at home on the stovetop or the sous vide method. I'll be honest, I don't use pasteurized eggs, but for children, elderly, sick or pregnant cookie eaters safety is a must.
- Make sure to not boil the molasses mixture when melting the butter. You don't want to cook the water out of the sugar. That results in hard, rather than soft and chewy cookies.
- The thicker these cookies are rolled, the softer they turn out. However the thicker the cookies are, the less they hold their shape during baking. If you'd like soft cookies, I suggest cutting out rounds and then decorating them with vanilla buttercream frosting rather than royal icing.
- I'm no expert at creating the perfect royal icing consistency but Sweet Sugarbelle is! Check out her guide on flood and piping consistencies.
- If this is your first time making royal icing, check out this royal icing post from Foodal. It has many helpful tips.
Nutrition
Love baking? Check out all our dessert recipes!
You might also like:

This Christmas Gnome Craft is a fun project for kids and adults! Use these paper gnomes as gift tags, Christmas ornaments or make into a holiday garland.

Bubbly hard cider, fresh pomegranate seeds and springs of rosemary come together to make a festive holiday drink. Let’s toast to the season!

Download our gingerbread house template to make this cute toy store! It’s competition worthy but it’s boxy design makes construction simple. It’s a great way to get into the holiday spirit!





Sweet Sugarbelle says
Just pinned! They look delicious!
Vintage Kitty says
Thanks Callye! xoxo
Dominique says
What a great idea to combine chocolate and gingerbread to make holiday cookie cut outs. I bet it tastes delicious and it looks so fun to decorate! These are beautiful!
Vintage Kitty says
Thanks Dominique! Some people watch lots of Christmas movies. I bake Christmas cookies to get into the holiday spirit! So yeah I think it’s fun! Happy Holidays!
Allison says
I usually only make cutout sugar cookies at Christmas, but this year I am switching things up with these! They look delicious!
Vintage Kitty says
Variety is good, right? Have fun baking Allison!
Michelle says
So many great tips! I love these, I can’t wait to make them with my daughter she is going to love them! Pinned x
Vintage Kitty says
She will love them! Happy Holidays Michelle!
Chef Markus Mueller says
Love making gingerbread cookies at Christmas! These cutout ones remind me of the cookies we would make every year with our dad! It was always so much fun, and we would create our own shapes by just cutting out figures with a paring knife!
Vintage Kitty says
I do that pairing knife trick too! I’ll draw a cookie out on paper, cut it out and use it as a template. Happy Holidays Chef!
Lauren says
Collecting cookie cutters is my new favorite thing! I’ve banned myself from sur la table because of it. I love how vivid the icing is on these chocolate gingerbread cookies ?
Vintage Kitty says
Hahaha! I’ve slowed down my cookie cutter buying because with all the blog props I’m running out of space! But I know what you mean. That sale table always illicites questionable decisions!
Sam says
Yum, these gingerbread cookies look amazing! Great job with the decorating. These would be such a treat after a holiday party.
Vintage Kitty says
Thanks Sam! Happy Holidays!
Amy says
What a fantastic idea to put chocolate in your gingerbread cookies! I’m saving this recipe—thank you!
Vintage Kitty says
You’re welcome Amy! Happy baking!
georgie says
these look gorgeous! I love gingerbread, but i love that you added chocolate to them too! They are so perfectly decorated as well!
Vintage Kitty says
Thanks Georgie. Chocolate and spice go so well together, don’t they?
Jessica says
Gingerbread cookies are a classic Christmas recipe we make every year. I’ve been making classic holiday cookies recipe and I’ve been trying my hand a few new ones this year. I made chocolate snowballs and I know chocolate gingerbread will be just as delicious!
Vintage Kitty says
I have standards I make every year too. But I try to throw in some new recipes to keep things fresh. Not sure if my family of traditionalists are behind this approach but I’m a the grass is always greener type. Happy Holidays Jessica!
Julie says
This makes me so nostalgic for the gingerbread cookies my grandmother always used to make. I inherited so many of her recipes but not that one, so I can’t wait to give this one a try and see if it hits the spot!
Vintage Kitty says
Hi Julie! It’s sad that your grandmother’s recipe is lost. I know it can’t replace your grandmother’s cookies, but I hope this recipe fills you with joy!
Claire says
I would have never thought to add chocolate to my gingerbread dough, but I bet this is mind-blowingly amazing! Definitely going to have to give this a try next time I make gingerbread.
Vintage Kitty says
Not sure it’s mind blowing but its so good! I really love the combo of spices and chocolate. Happy baking Jessica!
holly says
These are the cutest Christmas cookies! And I love the chocolate and gingerbread combination – yum!
Vintage Kitty says
Thanks Holly! Happy Holly-days! ;-)
Kindra says
Where is the ginger in these ‘Ginger’bread cookies? I’ve been searching the internet and have run across so many recipes for Chocolate Gingerbread cookies which are omitting the actual ginger.
Vintage Kitty says
Hi Kindra. I check my notes and yes, it was supposed to contain ginger. I even made this recently and thought the flavor was lacking but didn’t realize the mistake. Thanks for catching that! I’ve updated the recipe. Happy Holidays!