It’s the Muppets Cupcakes Tutorial. YAAAAAAAAAAAAAAAAAY!!!!!!!!
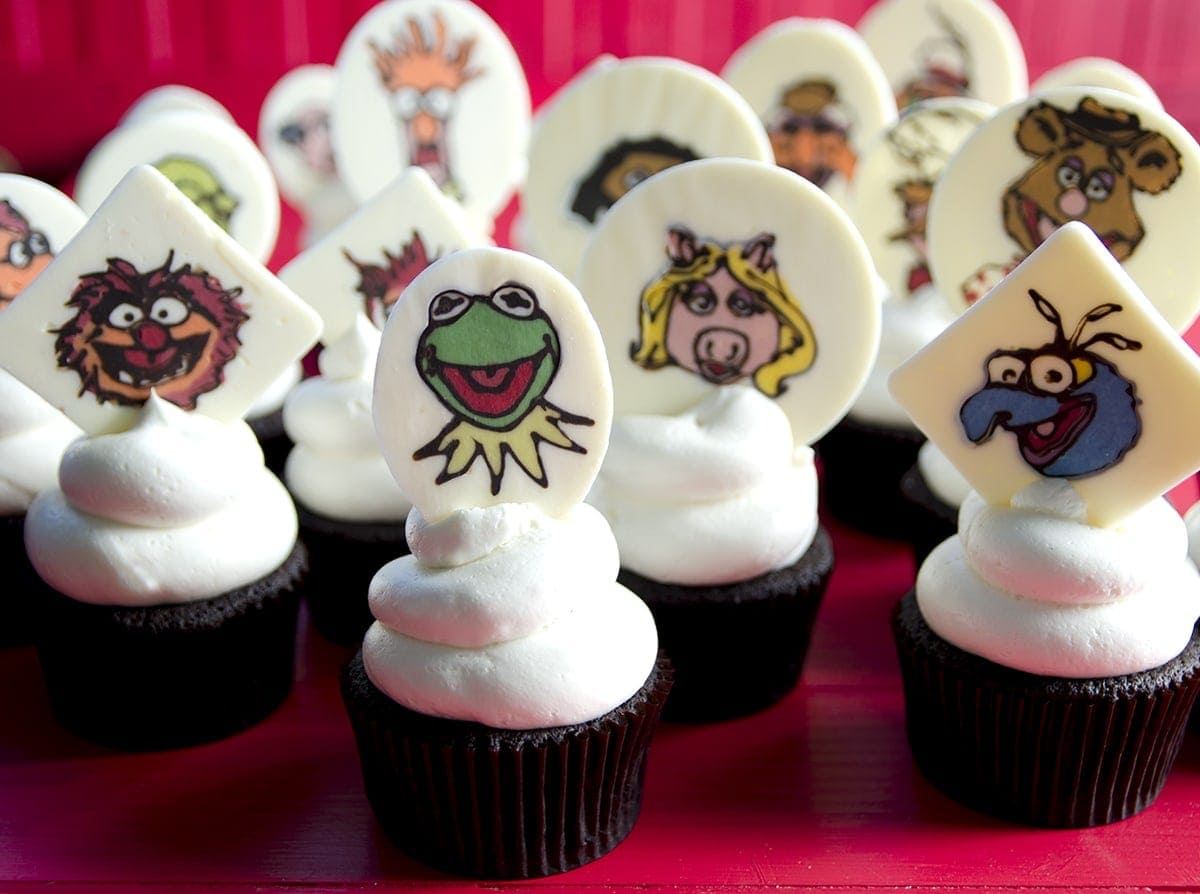
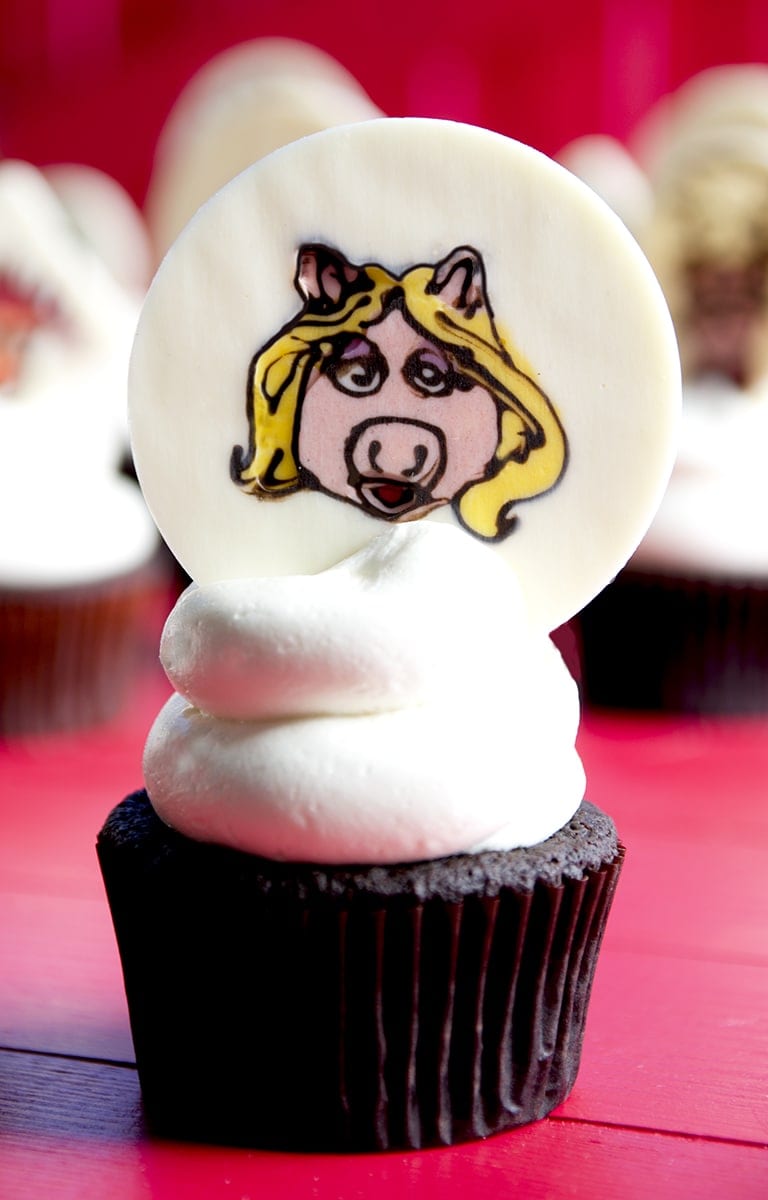
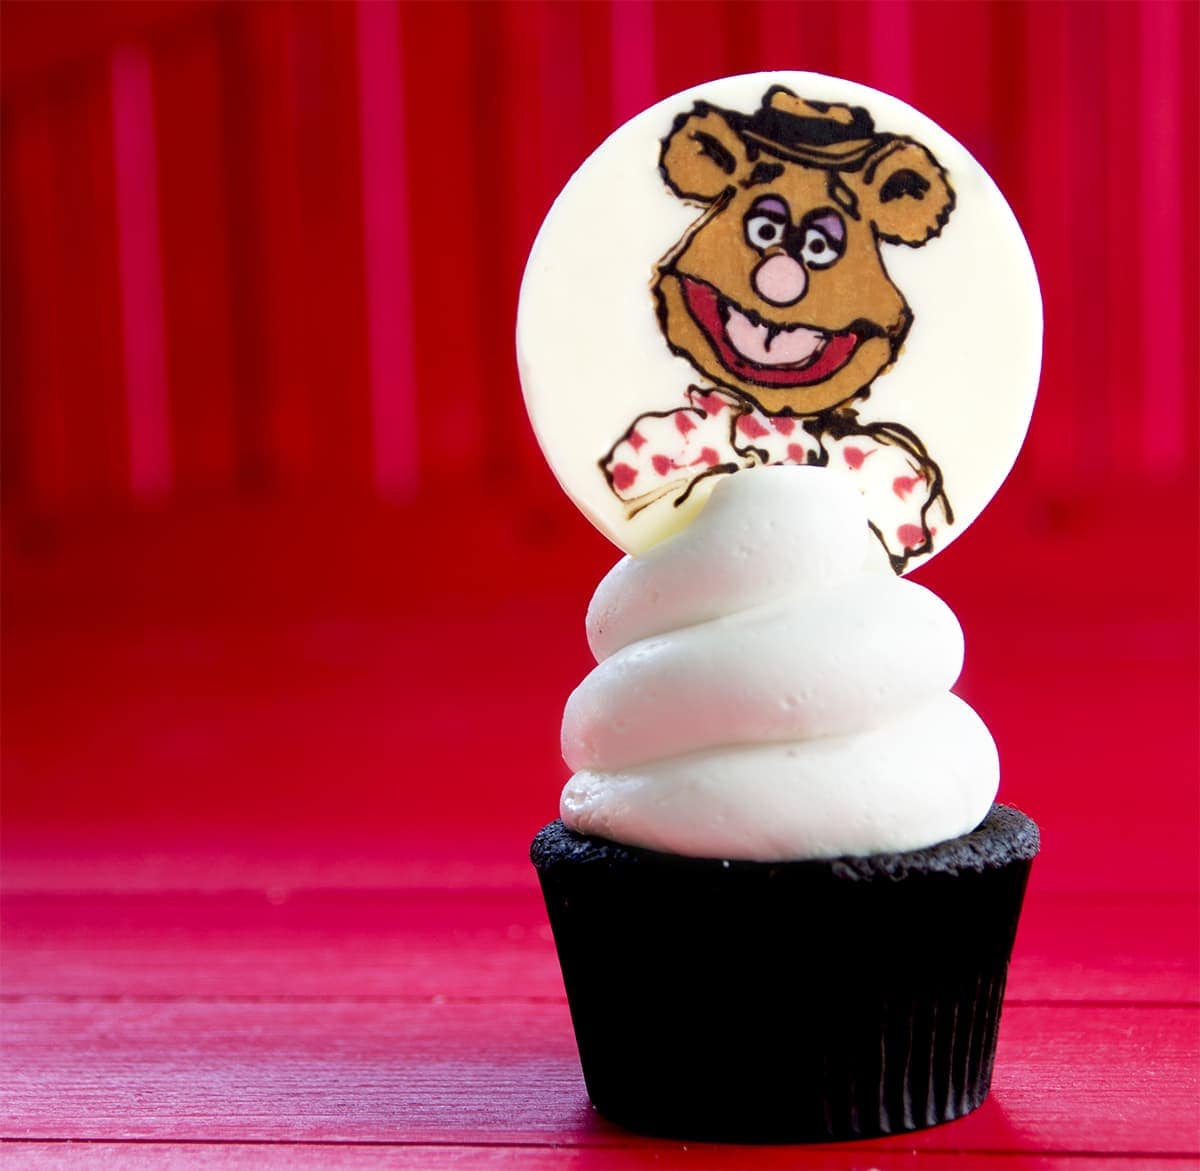
How awesome are these most sensational, inspirational, celebrational, Muppet-ational cupcakes? Learn how to make your favorite Muppet into a cupcake with this Muppets Cupcakes tutorial! Whether they’re a fan of Beaker or have an affinity for chickens, your friends will be oohing over your zany Muppet skills!
I am so excited for the premier of the new Muppets show that I created this Muppets Cupcakes Tutorial for all my fellow fans. Really, I am totally geeking out. Who remembers the first TV show? The awesome guests, the funny skits, the most handsome frog ever…and a group of misfits putting on a show. It’s enough to make a theatre girl weepy and sentimental.
I literally grew up with these guys. I had Muppets curtains, clothes, toys, games and even stationary. That’s right, I wrote my elementary school love notes on Miss Piggy and Kermit cards. These picnicking love birds to be exact. Dream job? To be on Sesame Street, singing about numbers and friendship. Puppeteering class in college, check!
So I’m all grown up now and not a puppeteer but I’m happy to say not that much has changed. I’m still a kid at heart and watching all my favorite Muppets moments on screens of all sizes. How can you outgrow the Muppets? Jim Henson and his fellow artists created a cast of characters that are unmistakably human: fallible, kind, funny, smart and hopeful and in doing so they continue to teach lessons to adults and children alike.
So in the spirit of teaching lessons, I bring you a tutorial for how to make these awesome Muppets Cupcakes. So without further ado…
Muppets Cupcakes
Chocolate Topper Tutorial
For this project you will need:
- Dark chocolate candy melts
- White chocolate candy melts
- A plastic squeeze bottle with a pastry tip adapter
- Disposable piping bags or squeeze bottles (one for every color)
- Gel or chocolate food coloring
- Cookie cutters
- Character images
- Parchment or wax paper
- Cookie sheets
- Microplane (optional)
The Muppets Cupcakes toppers are made of chocolate, so they are edible and will keep for 2+ weeks if stored in a cool, dry place. So you can make them in advance, which is good because this is a time consuming project. If you only make one character, block off 1-2 hours. If you are insane ambitious like me and want to make the whole cast, schedule 5-7 hours just for the toppers. But these Muppets Cupcakes will impress, so its worth the time to spread a little Muppet magic!
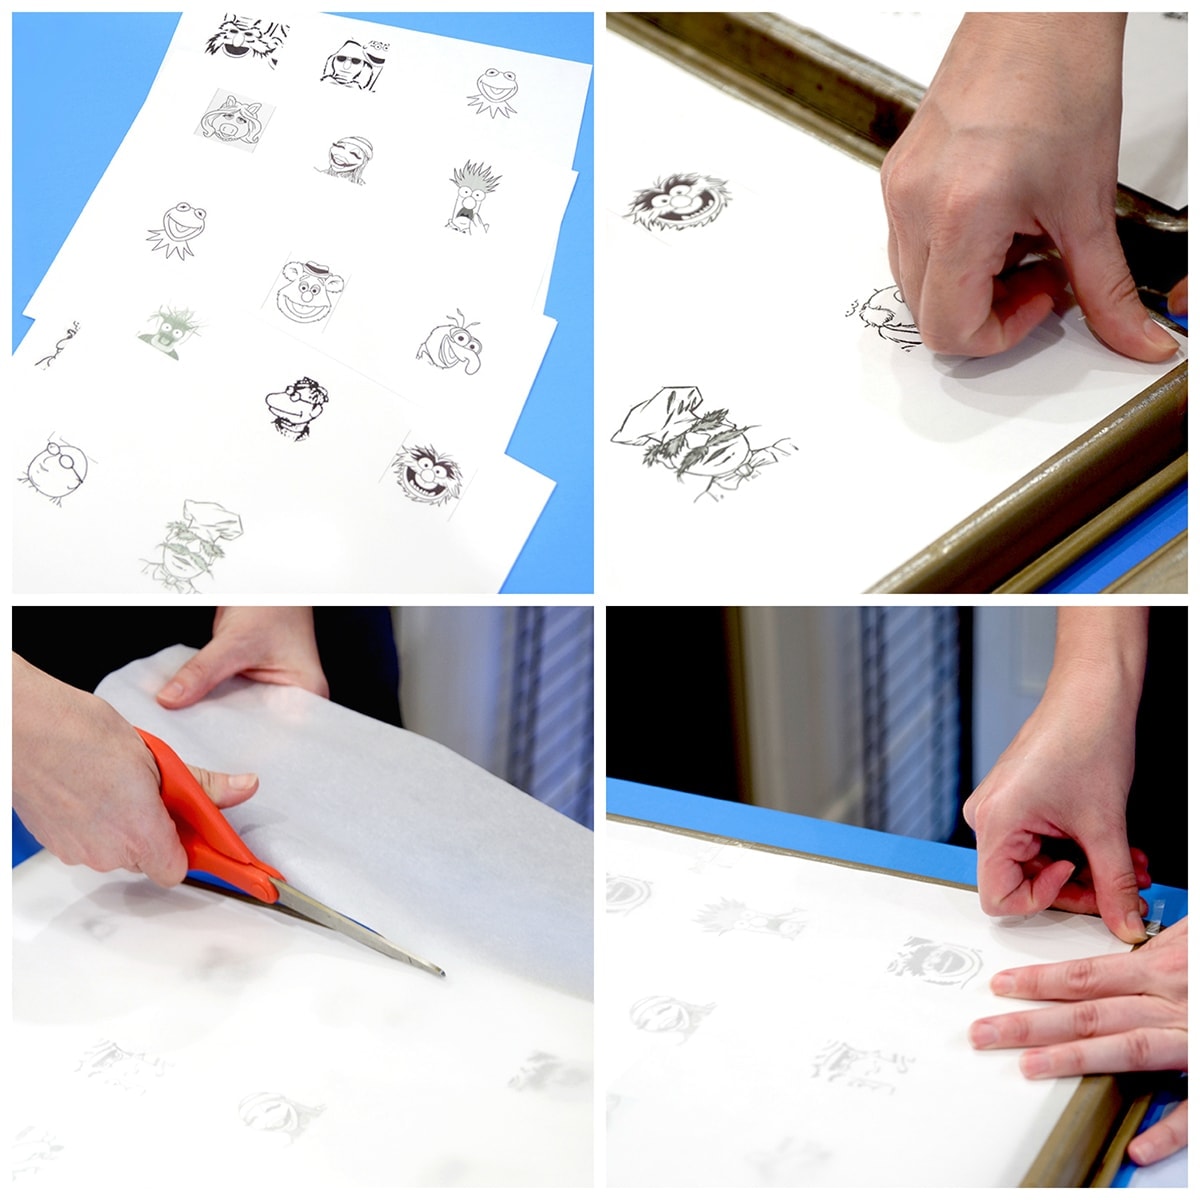
Bottom left: Cutting parchment. Bottom right: Taping down parchment.
- Start by finding images. You can do this for almost any character. (Check out the Winnie the Pooh ones I made). You’ll want your images to be about 1.5-2 inches and I prefer them to be black and white. I made these sheets in Microsoft Publisher which allowed me to size the images.
- Print your images out and tape them to the BACK of a cookie sheet with scotch or painters tape.
- Cut parchment or wax paper to fit your cookie sheets.
- Place parchment on top of your images and tape it down. (Sometimes this is hard since the paper is slippery and nonstick. Use a sticky tape and LOTS of it)
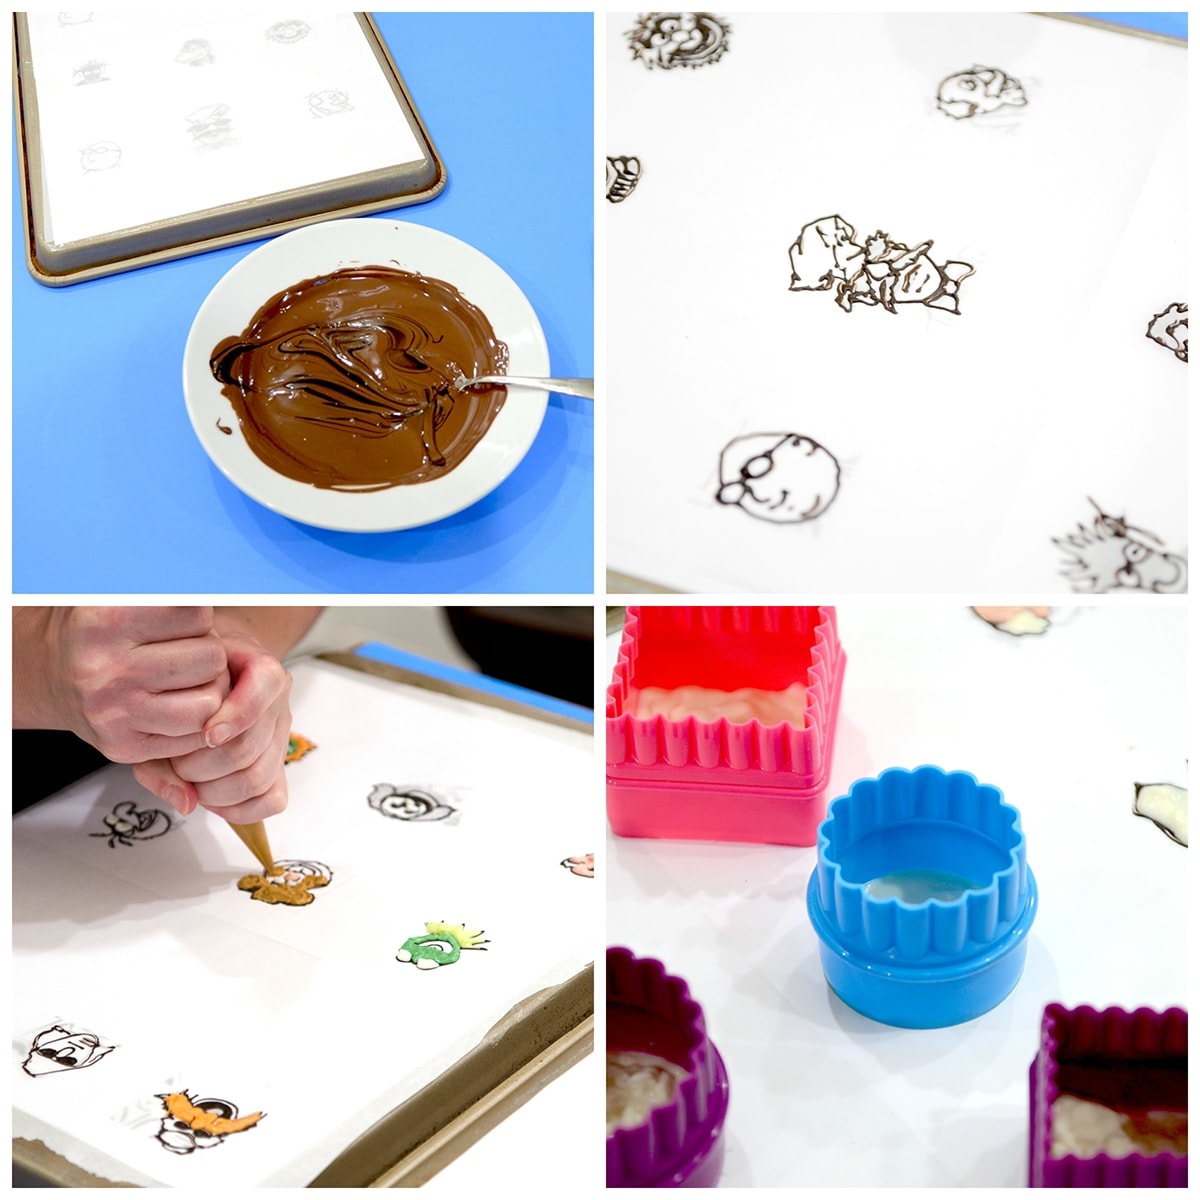
Bottom left: Filling in outlines with colored chocolate. Bottom right: Using cookie cutters to mold designs.
- Melt dark chocolate in a microwave on defrost in 30 second intervals. Stir in between intervals and stop when the chocolate is smooth. Now mix your chocolate with black gel food coloring to make it black. Put melted chocolate in a plastic bottle with a #1 pastry tip. (I used these Ghiradelli melts because my grocery store sells them)
- Trace the lines of your characters. Less is more here, so make skinny lines.
- While the dark chocolate sets up, melt white chocolate and color it with gel or chocolate food coloring. (I urge against using pre-colored chocolate. It is very thick stuff and does not pipe easily).
- Put your colored chocolate into chocolate bottles or disposable plastic pastry bags. You can keep your chocolate warm by putting in on top of a heating pad on low or in a crock pot set to warm, but be careful not to burn your chocolate!
- Fill in the outlines with colored chocolate, making sure to let each color dry before adding more.
- Once you’ve filled all your colors in, fill in white chocolate around and over top your design. I did this inside a cookie cutter to make neat shapes.
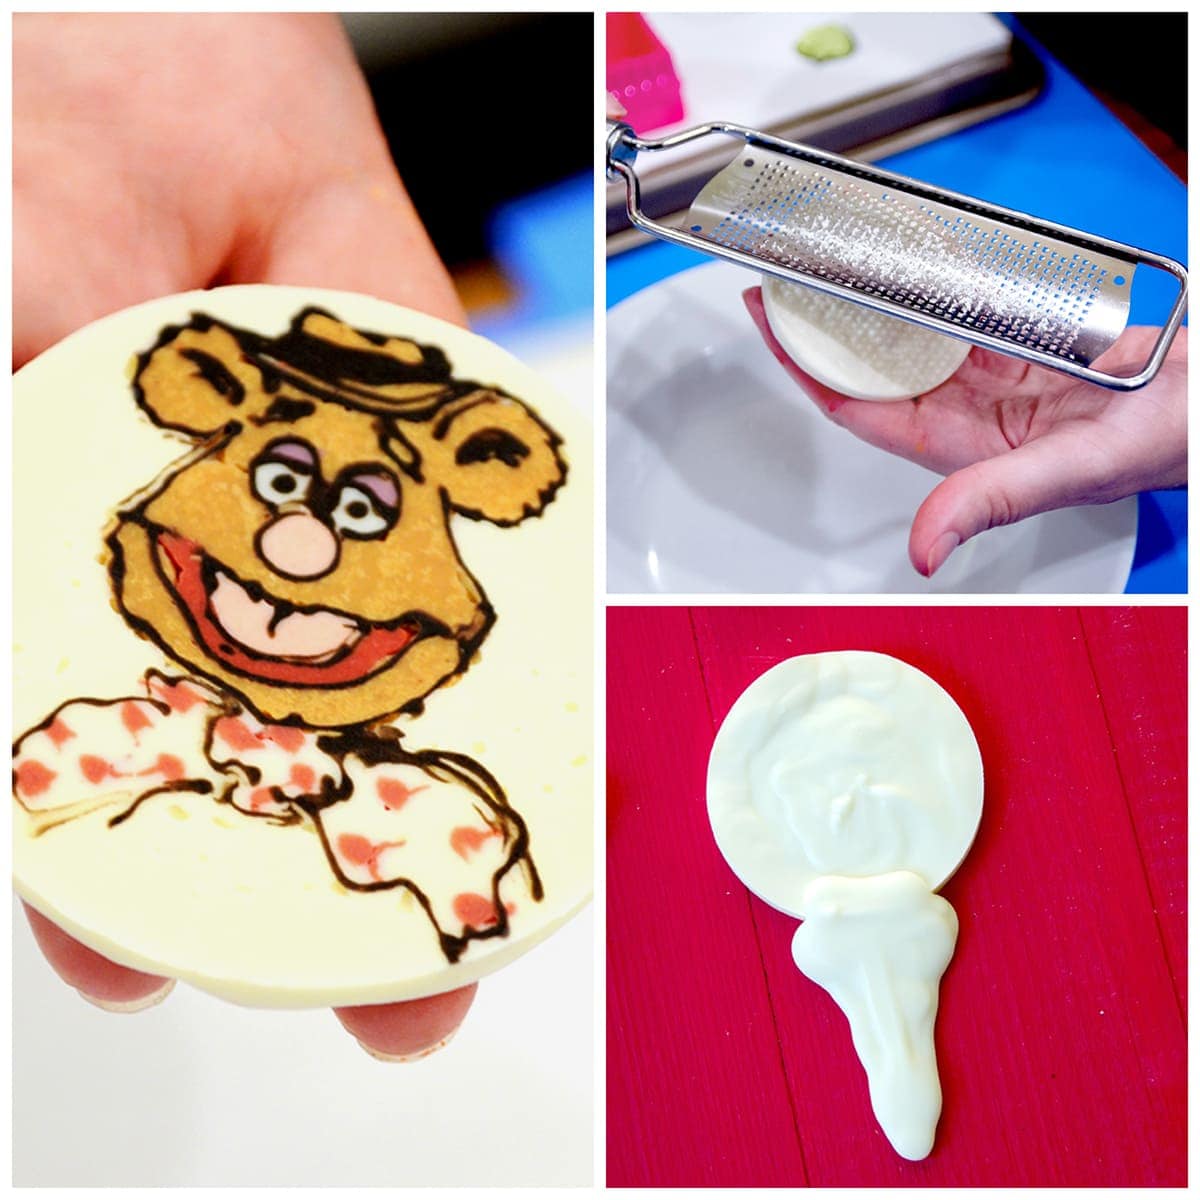
Bottom right: Chocolate “stick” added for stability.
- When your chocolate is set up, pop out your topper and flip it over.
- You can smooth any rough edges with a microplaner.
- Use your topper as is, or if you want them to stand up, lay it back down on your parchment and add a chocolate “stick” to the bottom.
- If not using immediately, place in an air-tight container with wax paper between each layer. Store in a cool, dry location.
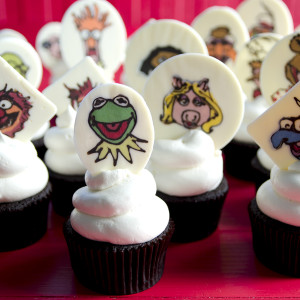
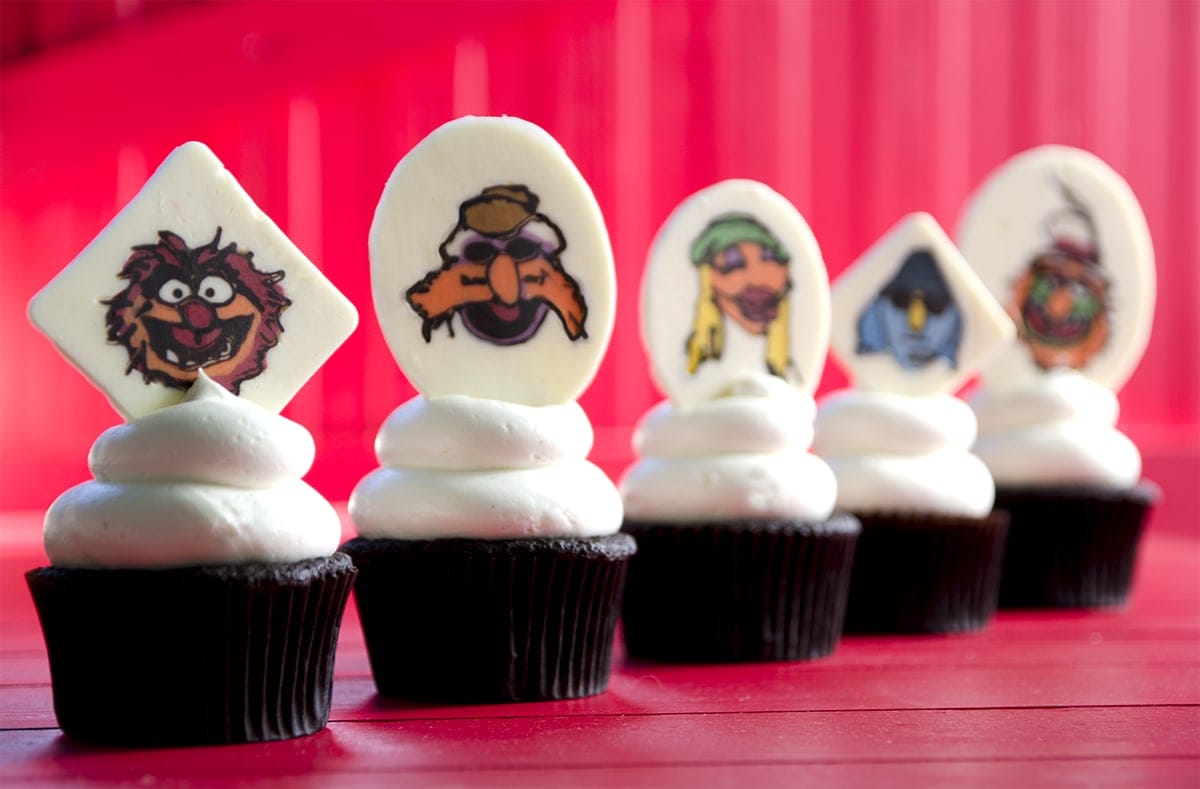
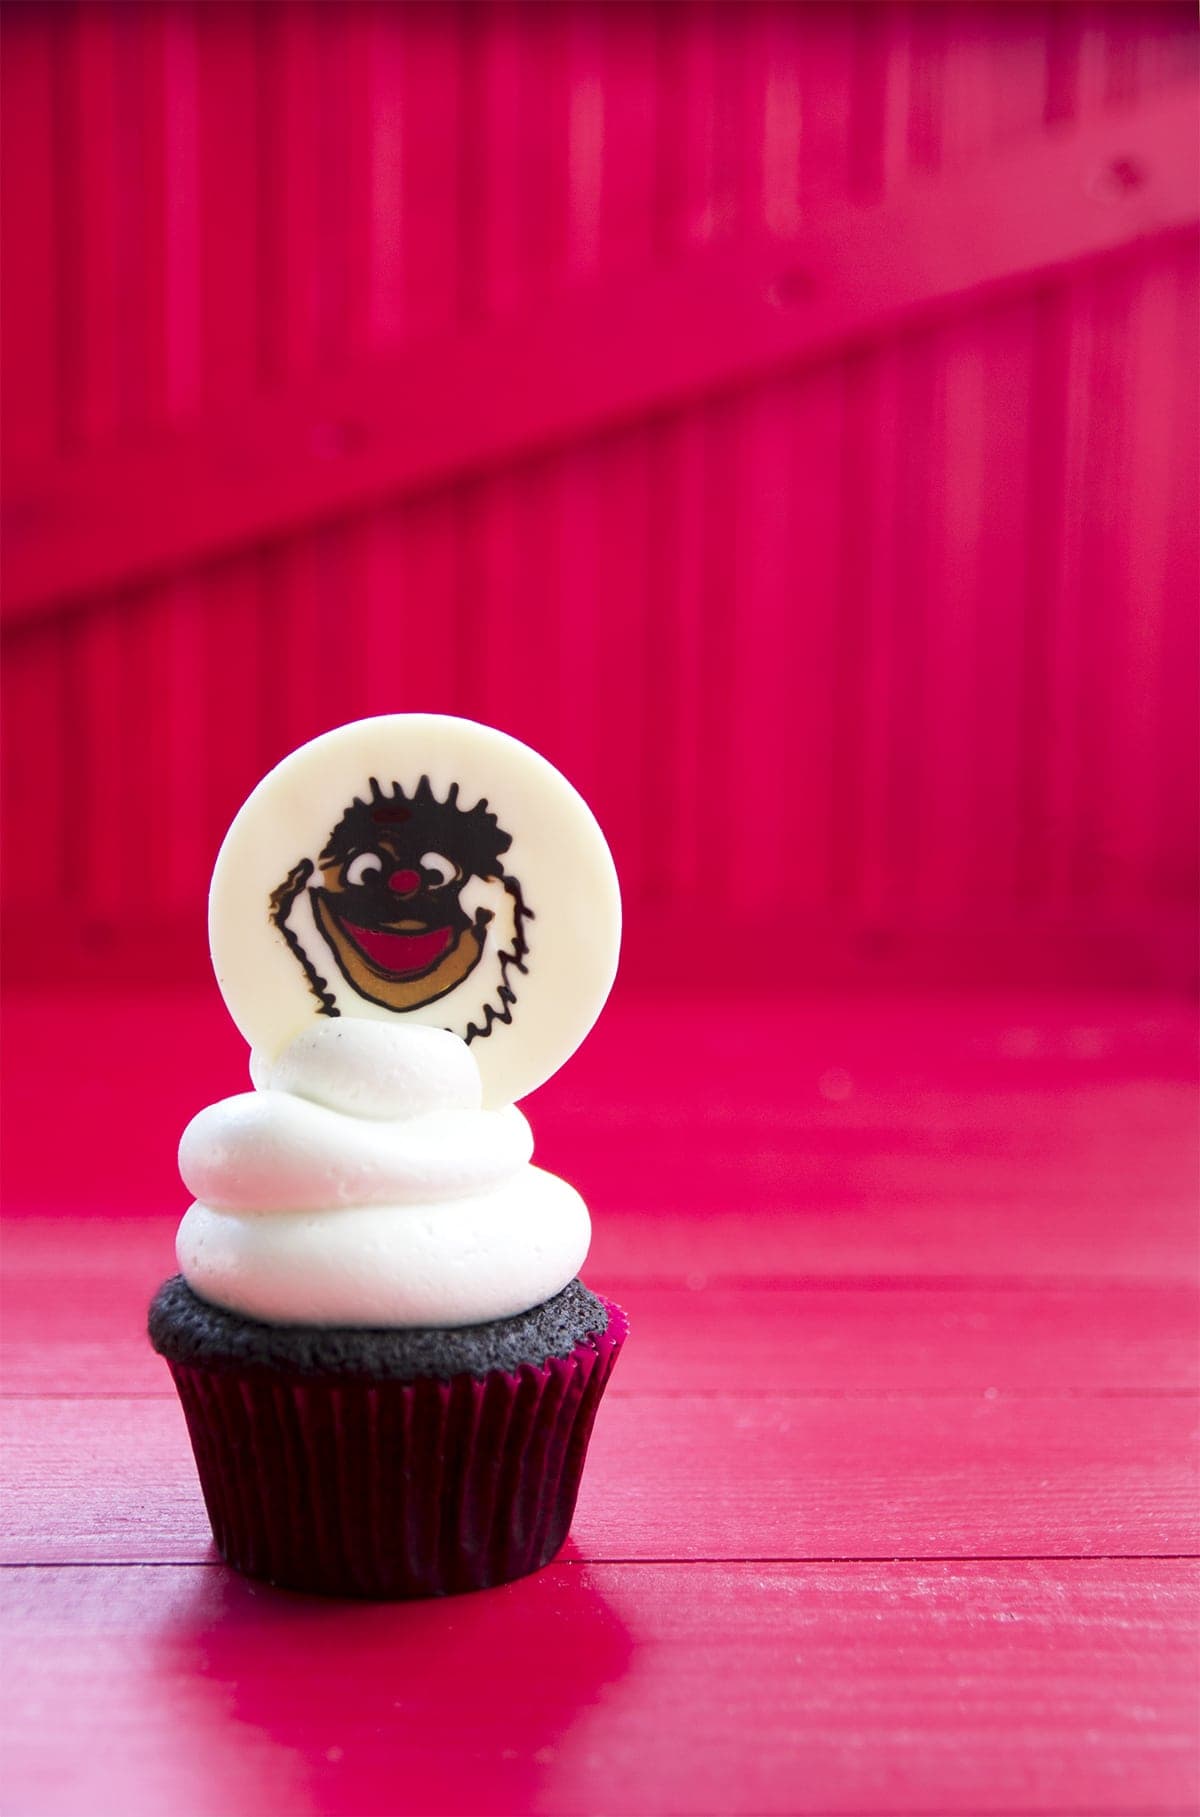
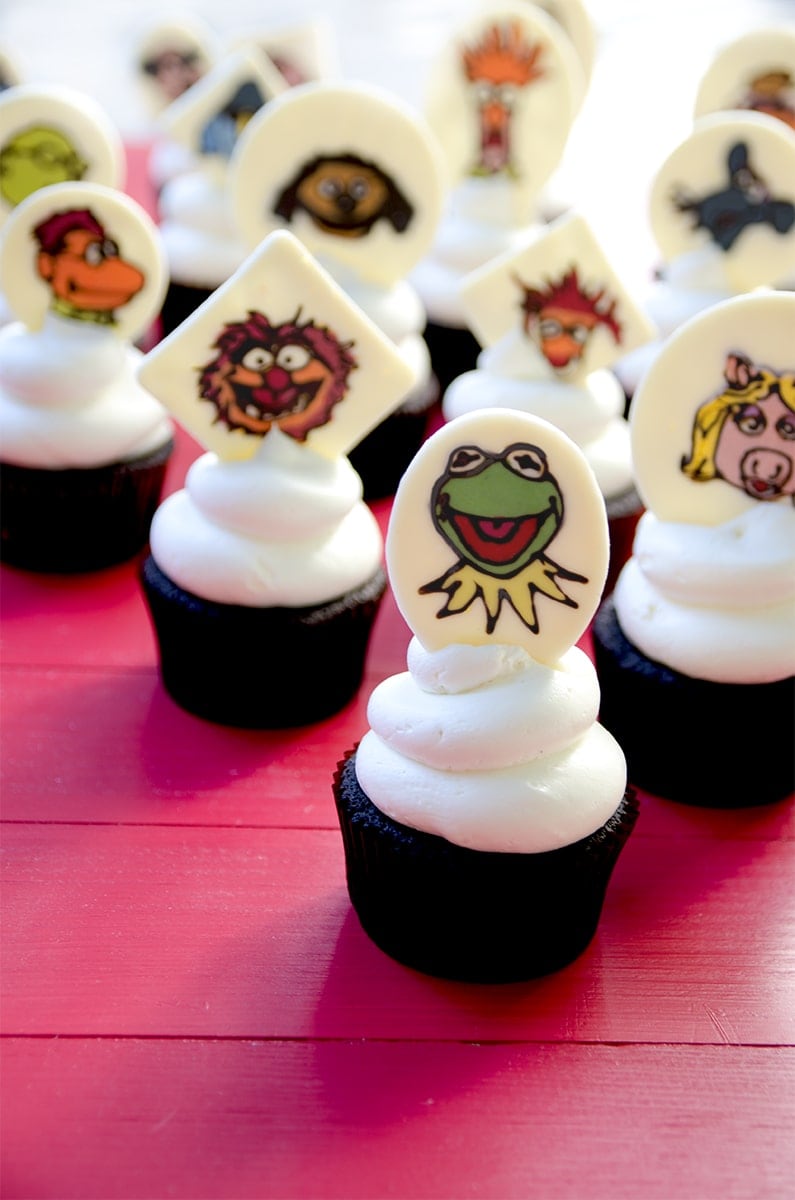
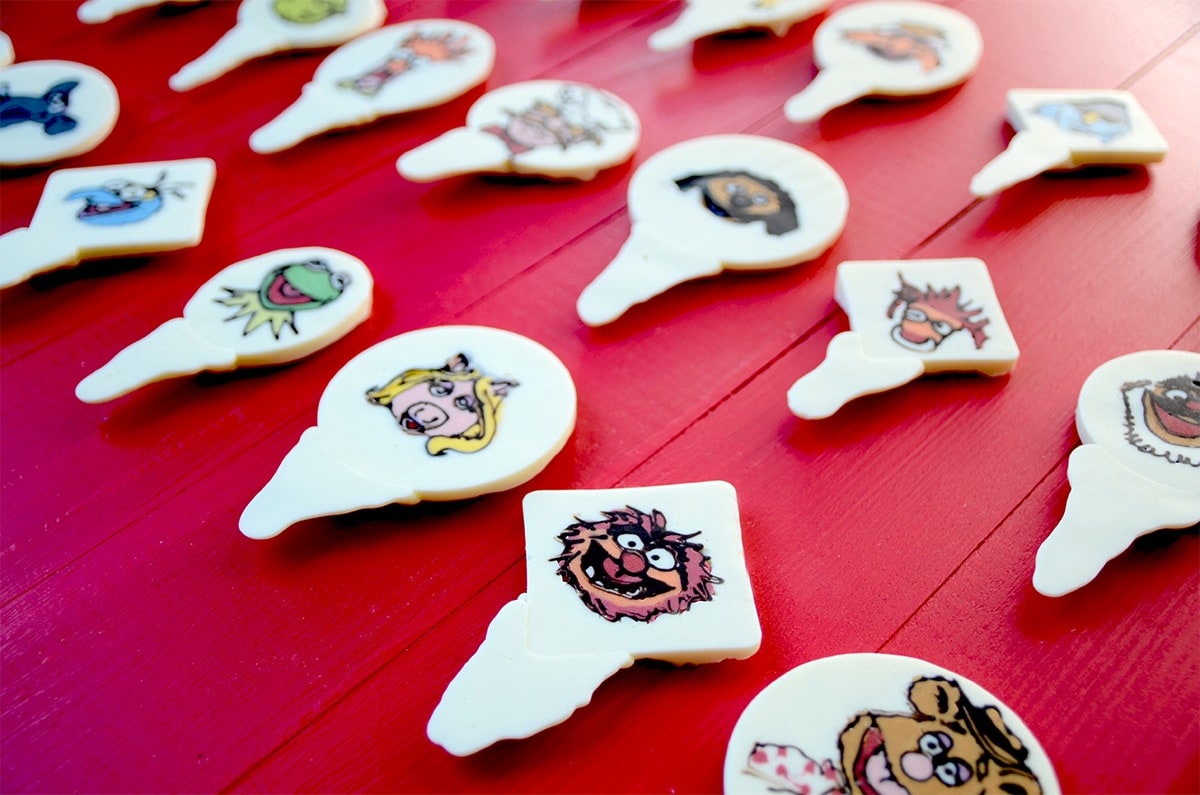
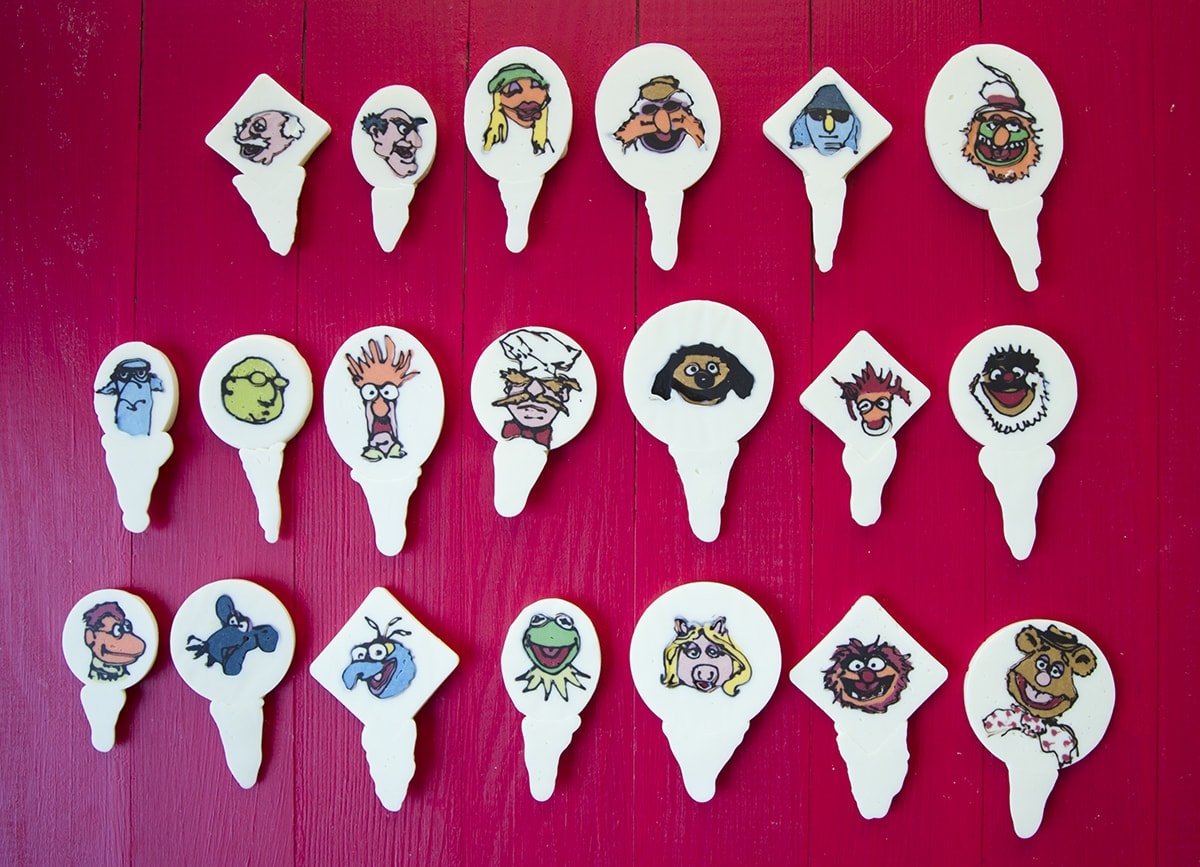
Here are my finished Muppets Cupcakes toppers. Can you name all the characters? Now these have to go on some yummy cupcakes! I’m going to be posting some new cake recipes soon, so make sure to subscribe so you don’t miss those posts, but in the meantime, I’ve included my recipe for Easy Vanilla Buttercream.
Did moi forget anything? I hope not, but if you have any questions, leave a comment below. I want to make this project a success for you.
Like this tutorial and recipe? Please share using the buttons below! Thanks for helping this little blog succeed!
Easy Vanilla Buttercream
Ingredients
- 1½ cups heavy cream
- 1 tablespoon granulated sugar
- 1½ cups salted butter , softened
- 1 tablespoon vanilla extract
- 6 cups powdered sugar sifted
Instructions
- In the bowl of an electric mixer, whip heavy cream with granulated sugar until it forms stiff peaks.
- Set aside whipped cream.
- Add butter to bowl.
- With a paddle attachment, beat butter until it is light and fluffy.
- Add vanilla extract and combine on a low speed.
- Add powdered sugar one cup at a time, mixing thoroughly between additions.
- Add whipped cream.
- Whip for 5 minutes, or until the buttercream is light, fluffy and smooth.


Leave a Reply