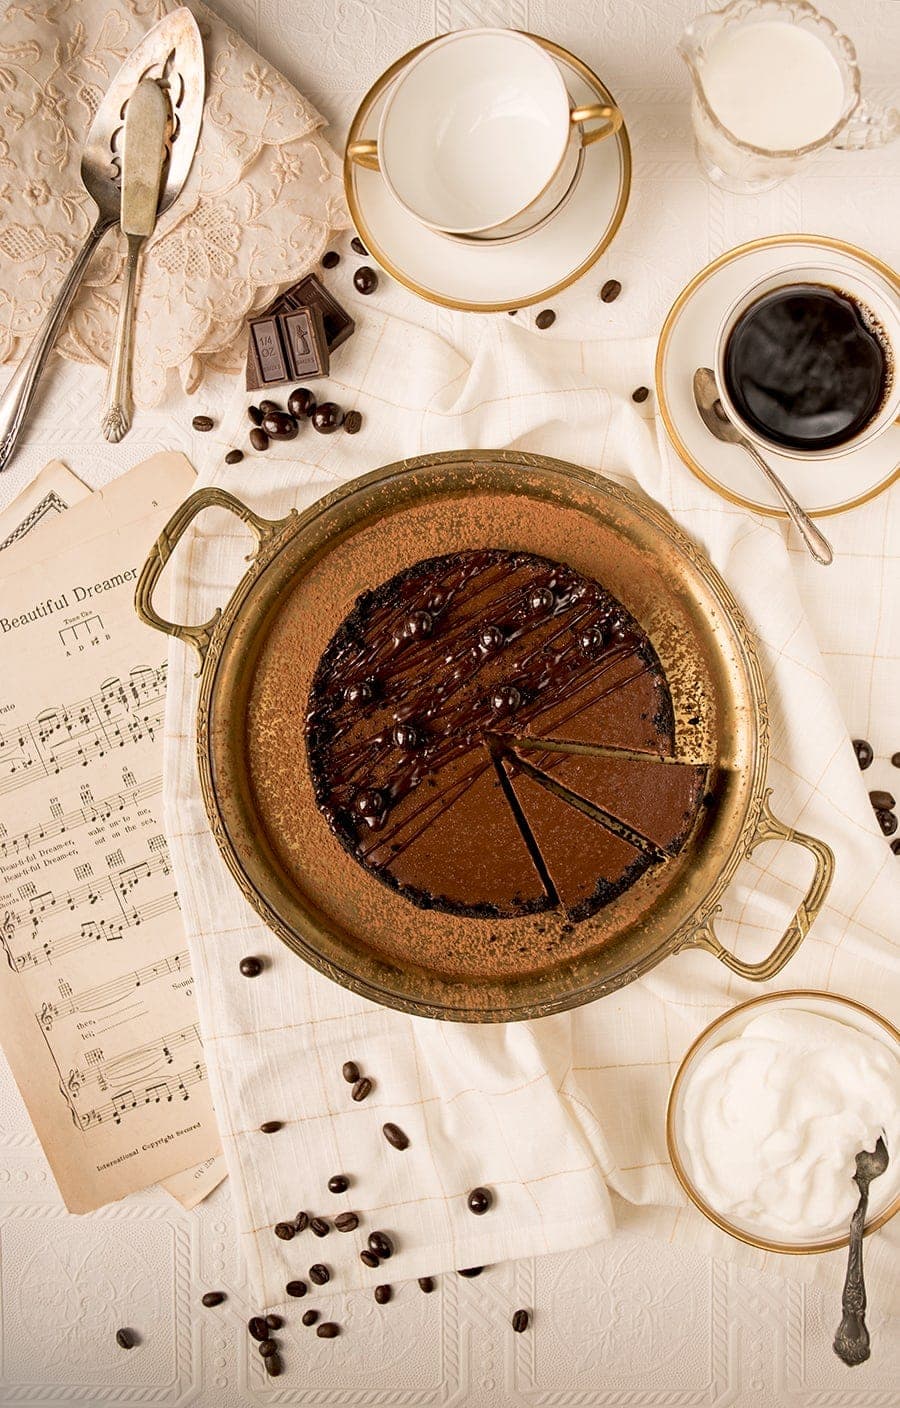
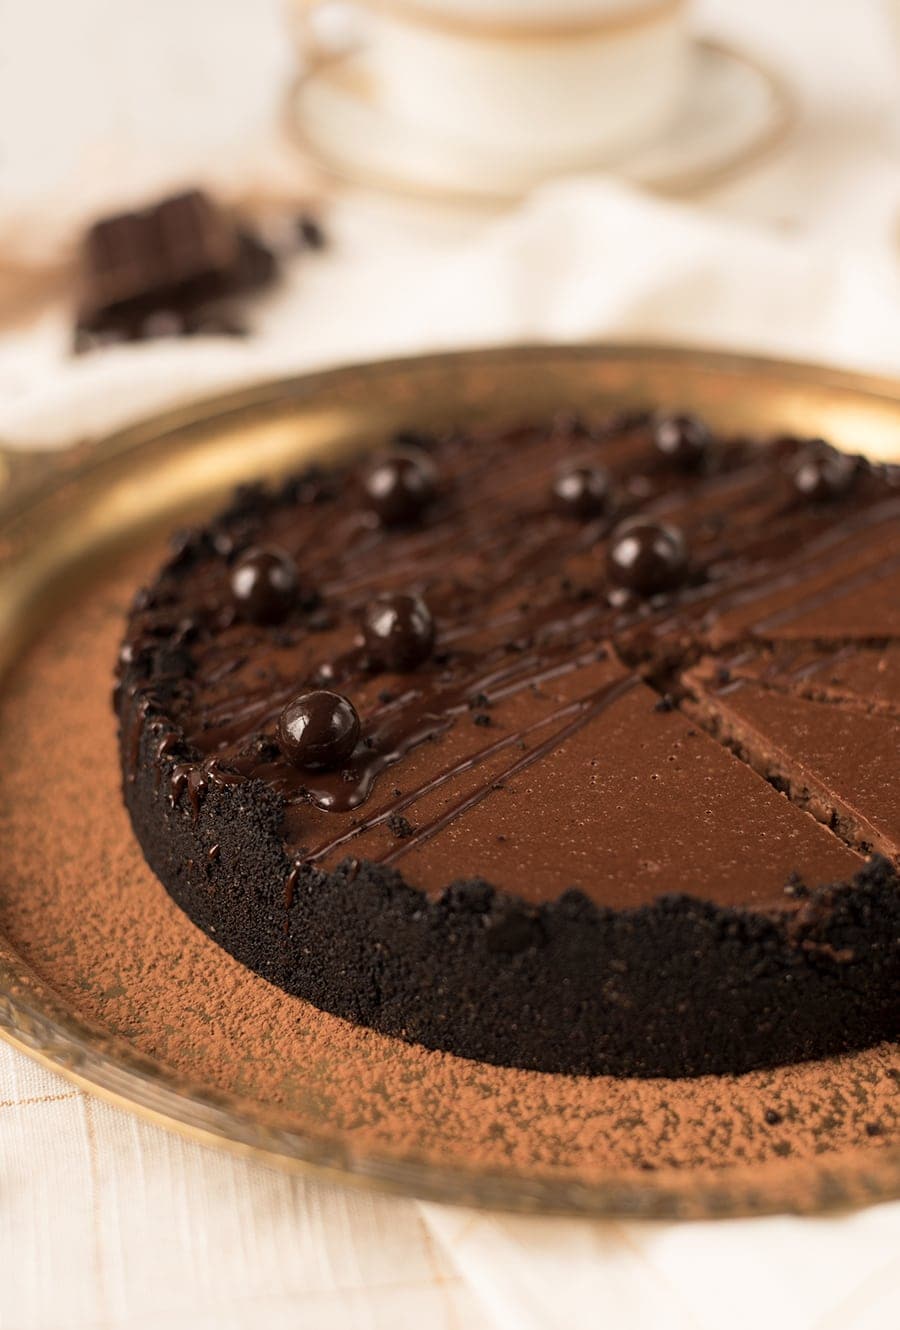
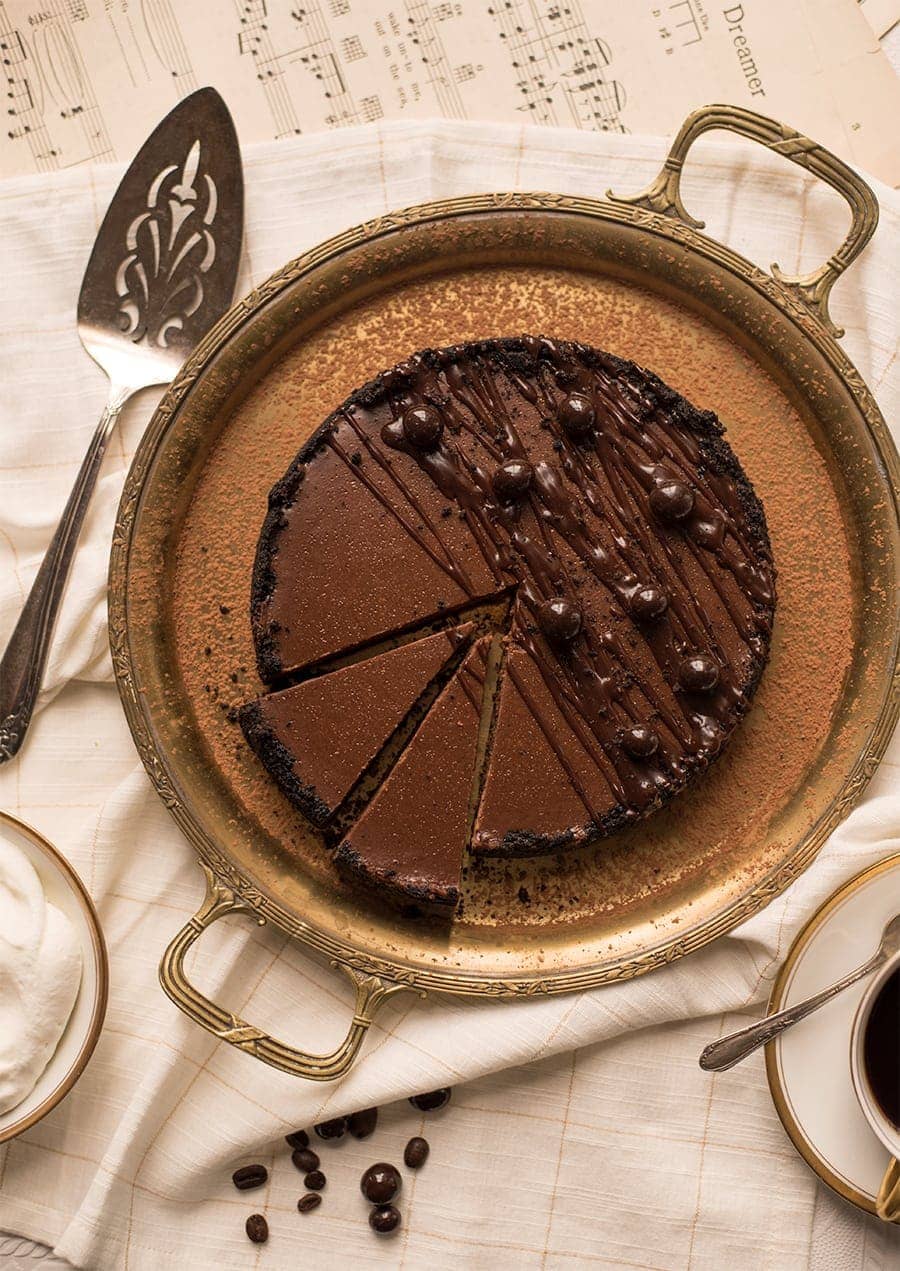
Satiny-smooth and rich, this chocolate espresso cheesecake is the key to your lover’s heart. Follow our step-by-step instructions to make this flawless Instant Pot chocolate cheesecake with an Oreo crust and a creamy chocolate filling. Give the love of your life a taste of indulgence!
Who loves chocolate and coffee? Me…. but you know who else? MOST WOMEN! I’m sure there are tons of men out there who love this combo too… but it’s rare to find a woman who won’t melt over the espresso chocolate elixir….
Guys, gals, if you’re looking for all the Valentine’s Day points, I’ve got a super romantic, itty-bitty, Instant Pot chocolate espresso cheesecake for all you lovers out there.
Or if you just love chocolate and don’t need a special occasion to eat this cheesecake, it’s a great dessert recipe for a small dinner with friends or family.
If you’ve been waiting to buy an Instant Pot because you don’t believe all the hype… I won’t lie to you., it’s not a foolproof machine. But there are some things is does super well, and cheesecake is one of them. The pressure cooker makes sure this cheesecake is luscious and creamy every time.
That’s because cheesecake needs a water bath (also known as a bain-marie) and consistent temperatures to achieve a satiny filling that melts in your mouth. Too much heat, and the cheese gets a curdled, dry texture. By pressure cooking cheesecake, you’re assured a perfect dessert that won’t crack or overcook.
When I started looking at classic cheesecake recipes, I quickly found that you just can’t use a ‘regular’ cheesecake recipe in an instant pot. The instant pot is smaller than almost every cheesecake recipe out there. So, my first test was a disaster. It ended up too tall and didn’t bake long enough. So I whittled down the ingredients to make a petite chocolate cheesecake.
But, I didn’t want to skimp on something as splurgy as a cheesecake, so I decided that the way to cope with a smaller cake was to double down on the richness. It didn’t take long until I decided to marry the coffee and chocolate that I love so much. Coffee intensifies the chocolate flavors, giving oomph to a smaller cake.
Because of the small cake size, you will need some special equipment. This chocolate espresso cheesecake uses a “pot in pot” method. Meaning that you use a removable bottom cake pan (or springform pan) that is inserted into your regular instant pot pan.
The good news is that a 7 inch cheesecake is the perfect size for two…maybe more if you want to share…but you won’t!
Tips for making Instant Pot chocolate cheesecake
- Use a nice dark chocolate that contains about 60-70% cacao
- Make sure to soften your cream cheese before you make the filling!
- DO NOT whip the cheesecake filling. Gently mixing the ingredients will keep air bubbles from forming on the cheesecake.
- The cheesecake will need to chill for at least 4 hours before serving, so it’s best to make this dessert the day before you want to serve it.
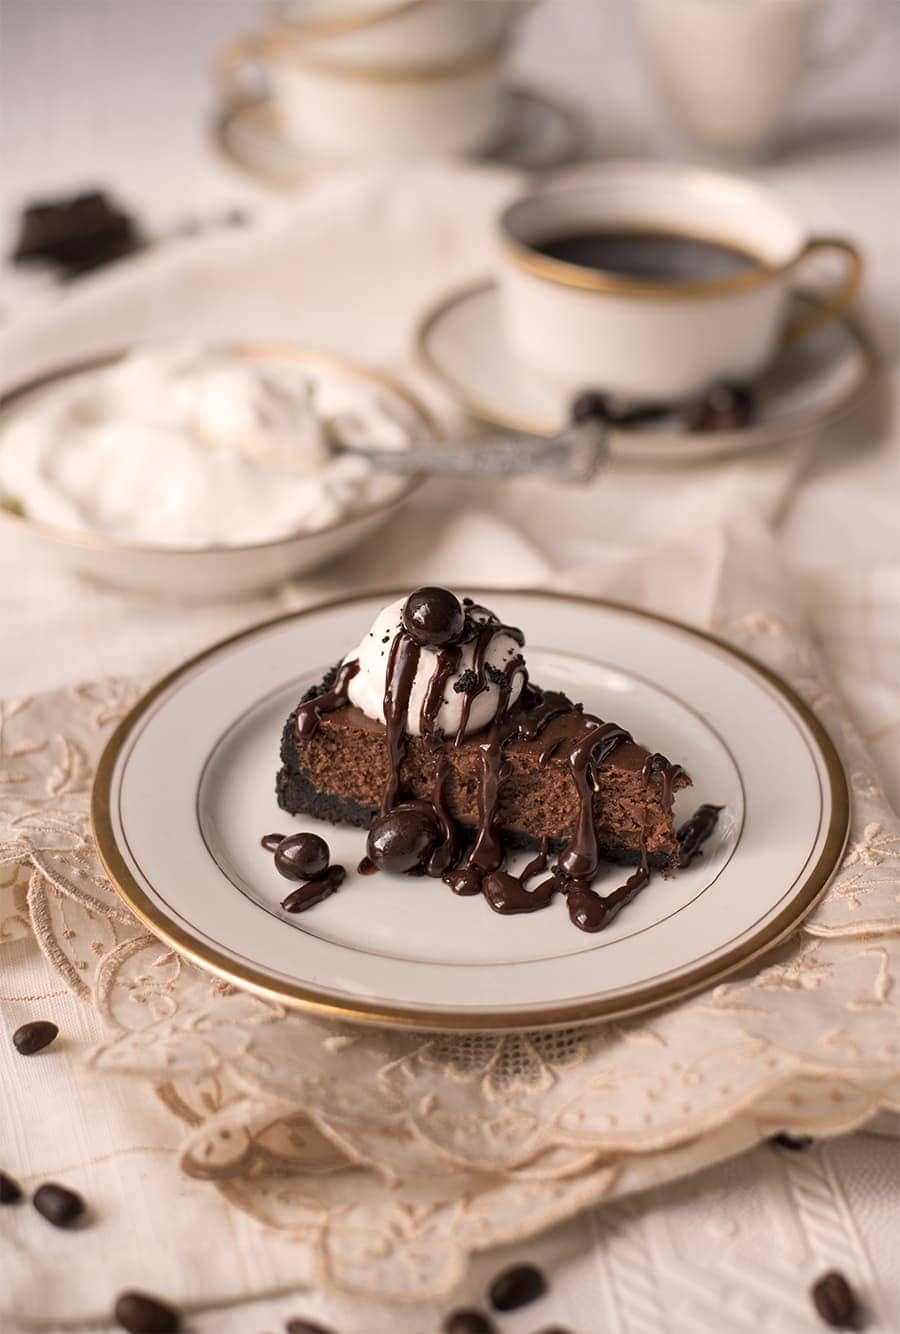
- I topped my cheesecake with chocolate espresso beans from Defluri’s Fine Chocolates. They are my local chocolate shop and everything I’ve tried has been delicious! They don’t ship the espresso beans, but they do ship truffles!
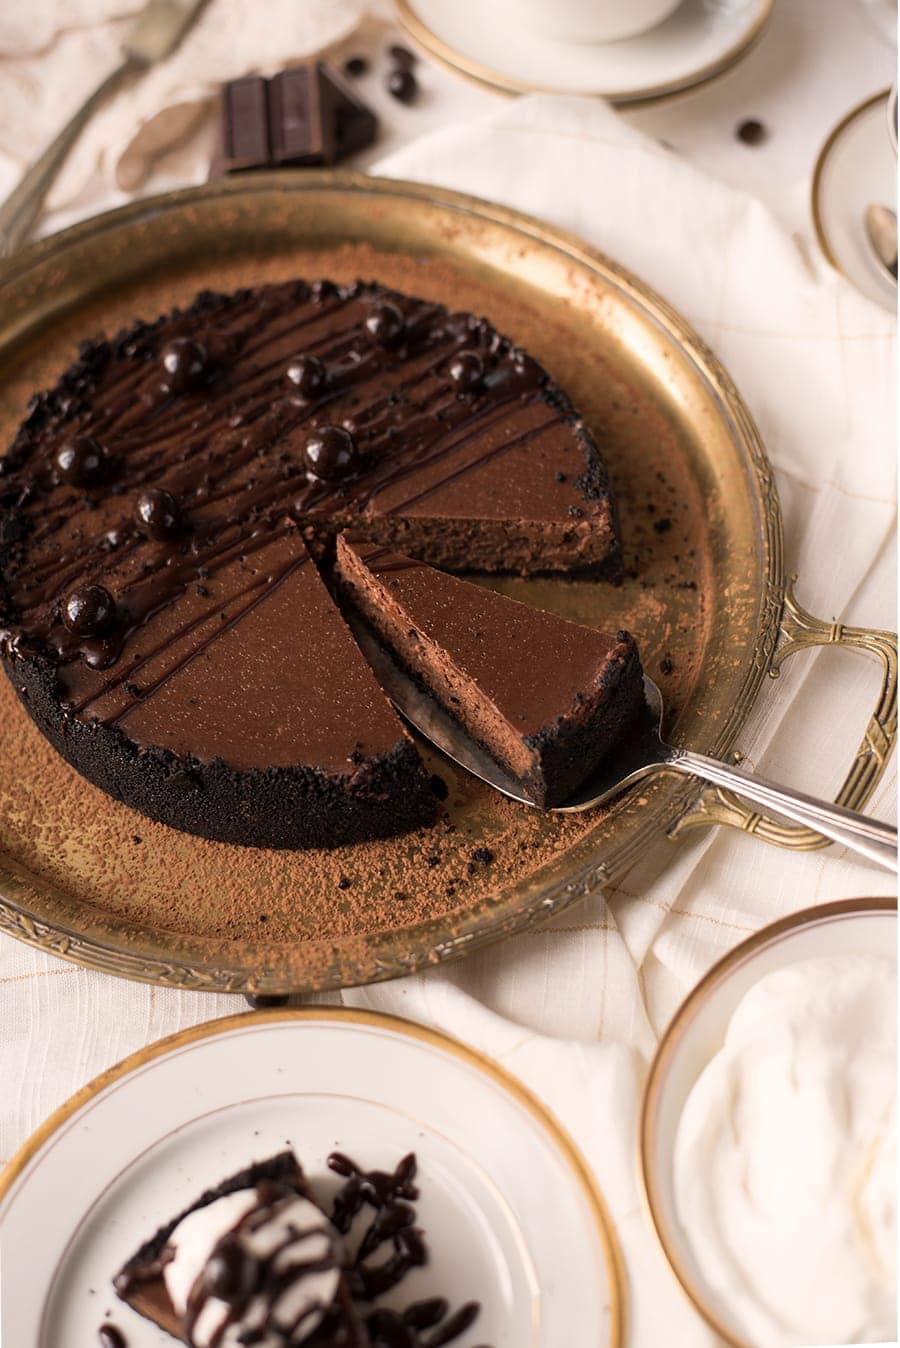
- Slicing the cheesecake with a dry, hot knife will make clean, smooth cuts. For best results, clean knife between cuts.
- Make sure to store leftover cheesecake in a covered container in the fridge. It should keep about 5-7 days (if you can resist eating it!)
Instant Pot Chocolate Cheesecake Recipe
Ingredients
Chocolate Cheesecake Filling
- 6 tablespoons heavy cream
- 1 tablespoon coffee grounds
- 3 ounces dark chocolate (we used 60% cacao)
- 8 ounces cream cheese
- 1 tablespoon flour
- 6 tablespoons light brown sugar
- 1 egg
- 1 tablespoon Kahlua
- pinch sea salt
Oreo Cheesecake Crust
- 18 oreos , filling removed
- 2 tablespoons butter
- 2 tablespoons light brown sugar
Instructions
Infuse the cream
- Before starting the cheesecake, make sure your cream cheese and egg are at room temperature.
- In a small saucepan, combine the cream and coffee grounds and bring to a gentle simmer.
- Once the cream is hot, turn off the heat and let the cream steep for 15 minutes.
- Meanwhile, finely chop chocolate.
- Using a fine mesh sieve, strain the cream, reserving the grounds for the crust.
Melt the chocolate
- Return the cream to the pot (a few leftover grounds won't hurt) and bring the cream to a simmer again.
- Once the cream is hot, turn off the heat and stir in the chocolate until it melts completely, then set aside to cool.
Make the crust
- Grease the inside of the pan and line the removable bottom with parchmentment paper.
- Place the cookies in a zip top bag and crush with a rolling pin.
- Melt butter and add it to the cookies crumbs with the brown sugar and used coffee grounds.
- Press crust into the bottom of the pan and up one inch on the side.
- Place the pan in the freezer to set for 15 minutes.
Make the filling
- Either by hand or in a mixer, soften the cream cheese by mixing it gently.
- Stir in the flour, brown sugar, egg, kahlua and sea salt, one at a time.
- Fold in the chocolate and mix until smooth.
- Pour filling into crust and pop any air bubbles with a toothpick.
Pressure cook cheesecake
- Tightly seal the top of the cheesecake pan with a piece of foil.
- Take a larger piece of foil and place the pan on top of it. Fold the foil tightly, overlapping the top foil so no water can get in while it pressure cooks.
- Now make a sling with another piece of foil that will fit under your cheesecake pan and inside of your instant pot pan (It's called pot in pot if you follow the IP lingo). Basically a long, folded piece of foil that will help you pull out the cheesecake easily.
- Place the steamer rack in the instant pot pan and place 1/2 a cup of water in the pan.
- Using your sling, gently lower the cheesecake into the pot.
- Fold down the sling and place the lid on the Instant Pot.
- Set the vent to "sealing" and manually set the cook time for 37 minutes.
- When the cook time is done, turn off the pot and let it naturally depressurize for about 10 minutes.
- Before opening the pot, open the vent to make sure the pressure has been released, then gently lift out the cheesecake.
Chill the cheesecake
- Let the cheesecake cool at room temperature 5-10 minutes.
- Carefully unwrap the cheesecake and remove the outer ring of the pan.
- Refrigerate the cheesecake until cold. It's best to do this uncovered or in a cake carrier. You don't want anything to touch the cake itself because it will be soft while it's warm.
- When ready to serve, use a thin spatula to slide the cheesecake off the metal bottom.
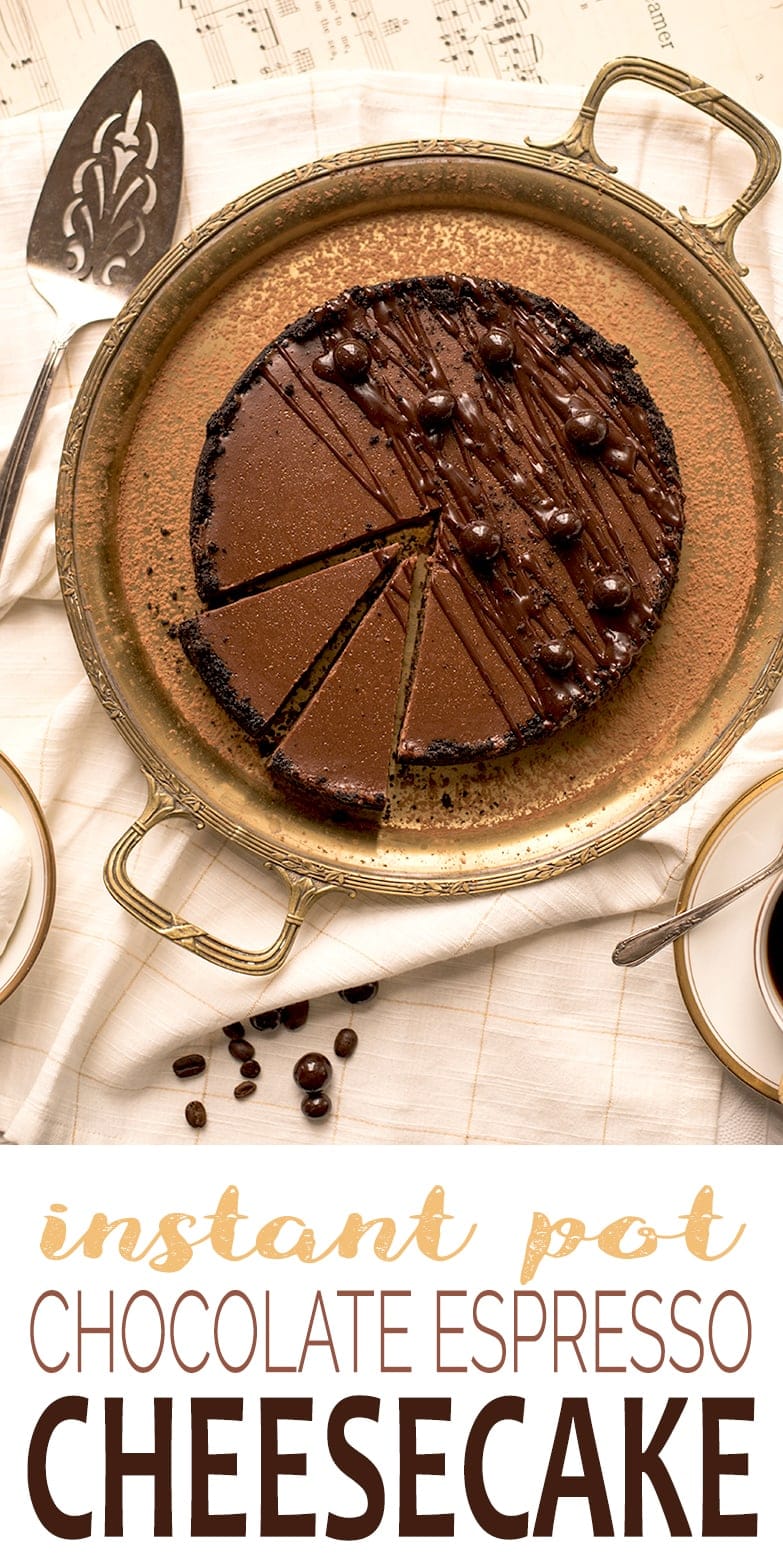
- If desired, serve with whipped cream and chocolate sauce (recipe follows), topped with chocolate covered espresso beans.
Notes
- Don't over whip your cheesecake filling. While bubbles are great in regular cake, it will cause bubbles to appear on the surface of your cheesecake. So mix gently on low speed.
- Chocolate Sauce: In a small saucepan combine 2 tablespoons heavy cream with 1 tablespoon agave syrup. Heat gently over low heat. When the cream is hot, turn off the heat and stir in 2 ounces of chopped bittersweet chocolate. Once the chocolate is melted, stir in 1 tablespoon butter and 1 tablespoon Kahlua. Use while warm. Can be kept in the refrigerator and warmed before serving.
Nutrition
Don’t forget to print the recipe!
You might also like:
Layers of cookie flavored cake alternating with vanilla bean, browned-butter chocolate chip cookies and fluffy, vanilla buttercream!
Made from scratch with artisan hickory syrup and whiskey, fine chocolate has met it’s match with these fluffy confections.
Mocha coconut buttercream tops layers of rich, fudgy chocolate coconut cake. Hauntingly delicious!



Leave a Reply