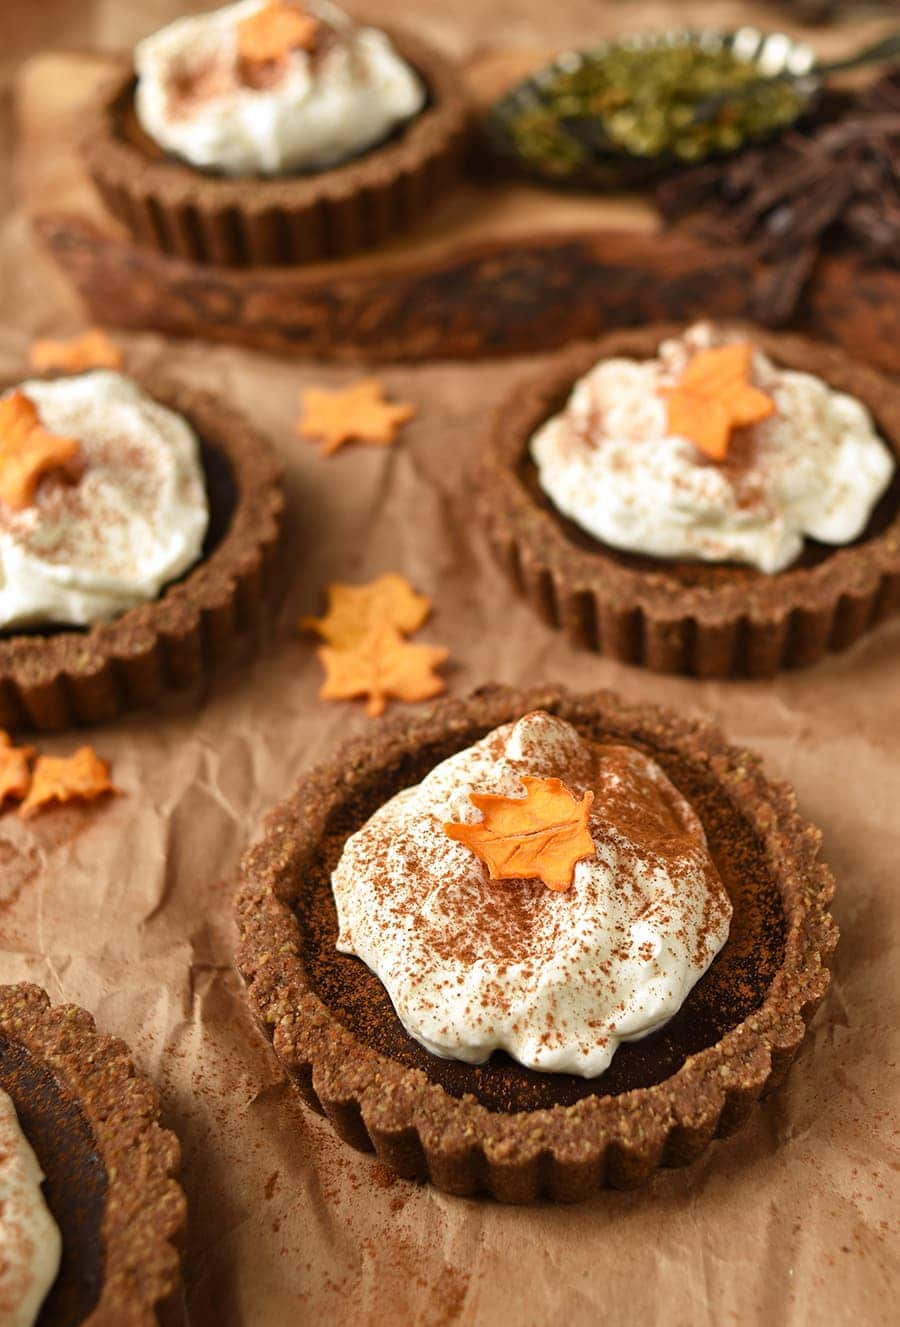
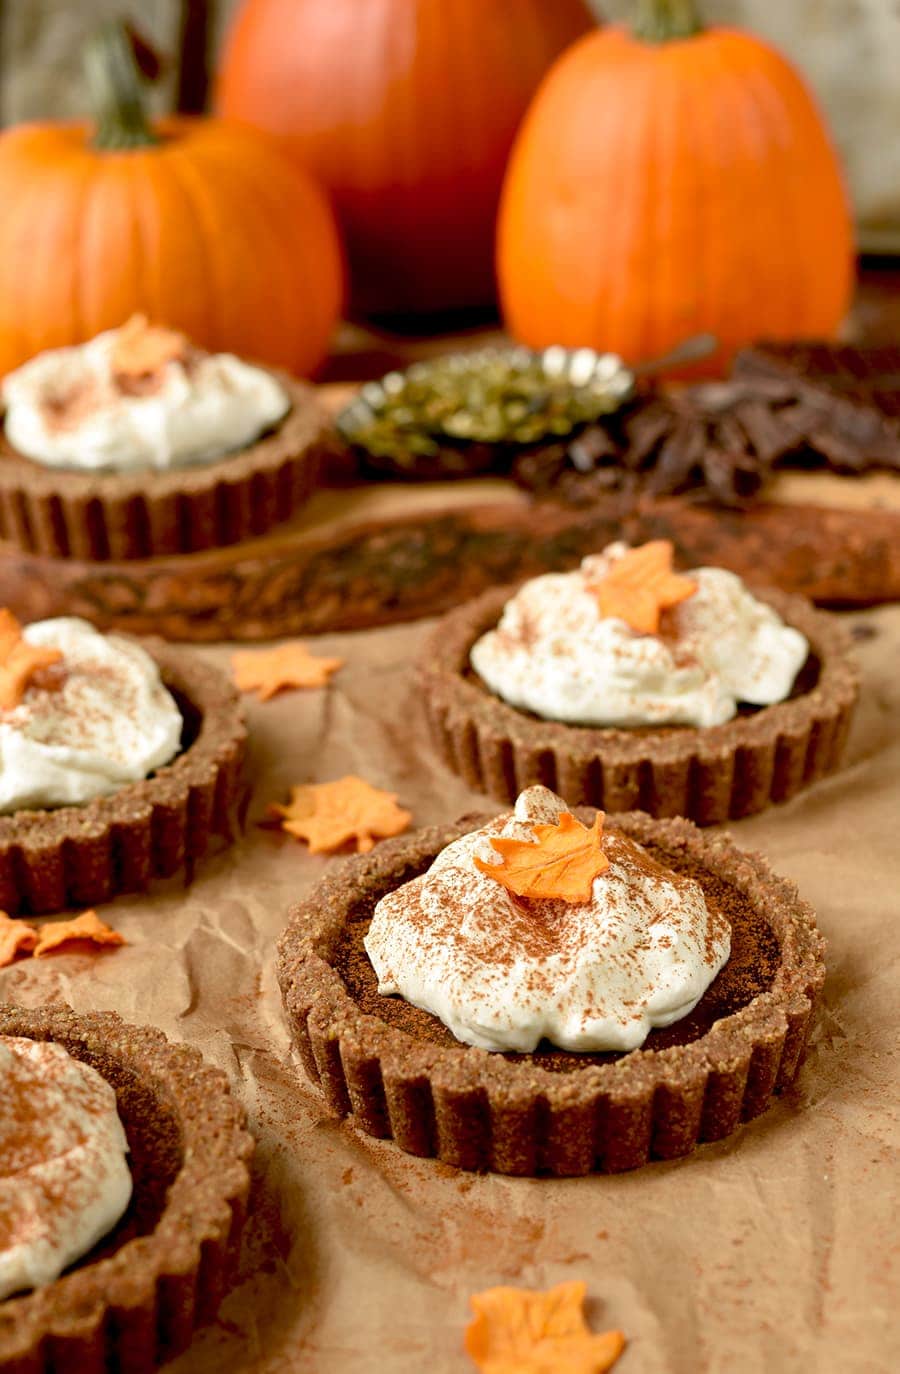
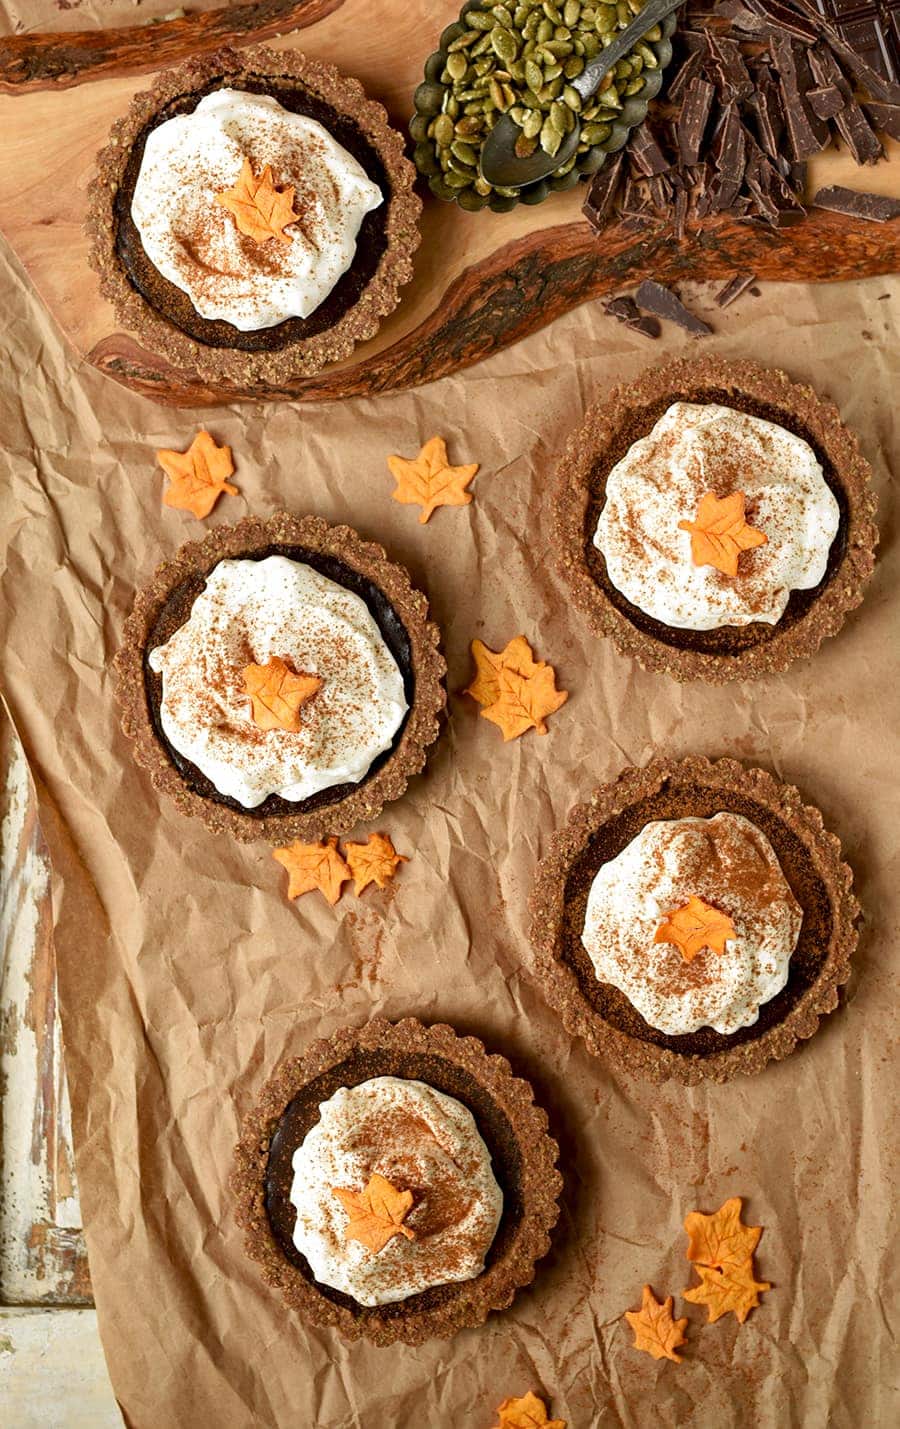
Pumpkin Chocolate Tarts with Pepita Crust are a delicious option for gluten-free, nut-free dinner guests this holiday season!
You don’t need to compromise flavor to accommodate special dietary needs. These Pumpkin Chocolate Tarts have a pepita crust with a rich chocolate custard filling that’s over-the-top delicious.
I love making specialty recipes, not just because I like to make yummy dishes for all my friends with dietary restrictions, but I also like the challenge. Food should taste great no matter what label is put on it, so my goal is to make food that is delicious even if the ingredients are unconventional.
When I set out to make this recipe more than a year ago, my goal was to create a gluten-free, nut-free, vegan dessert. I know I’m not alone here… it’s Thanksgiving and you’re responsible for making a pie that everyone will eat… but your cousin has a nut allergy, you uncle is gluten free and your sister’s boyfriend is vegan.
The goal was lofty, but ultimately, I failed.
Test after test, I couldn’t come up with a recipe that worked and tasted good on all three fronts. So, I decided to drop the vegan part and focus on making a pumpkin chocolate tart that was nut-free and gluten-free since I already have a tried and true vegan Pear Crumble that’s perfect for the holiday season.
This recipe was inspired by the thought of combining two of my favorite flavors, chocolate and pumpkin. Pumpkin can add creaminess to recipes without lots of added calories, and my theory was that it could replace the eggs and cream in a chocolate custard tart. But I was so wrong! As I was making it, I knew it wouldn’t work because the filling was way too thin and it tasted flat. Determined to not waste perfectly good chocolate, I added eggs and a bit of heavy cream to the filling and poured it into my pumpkin seed crust.
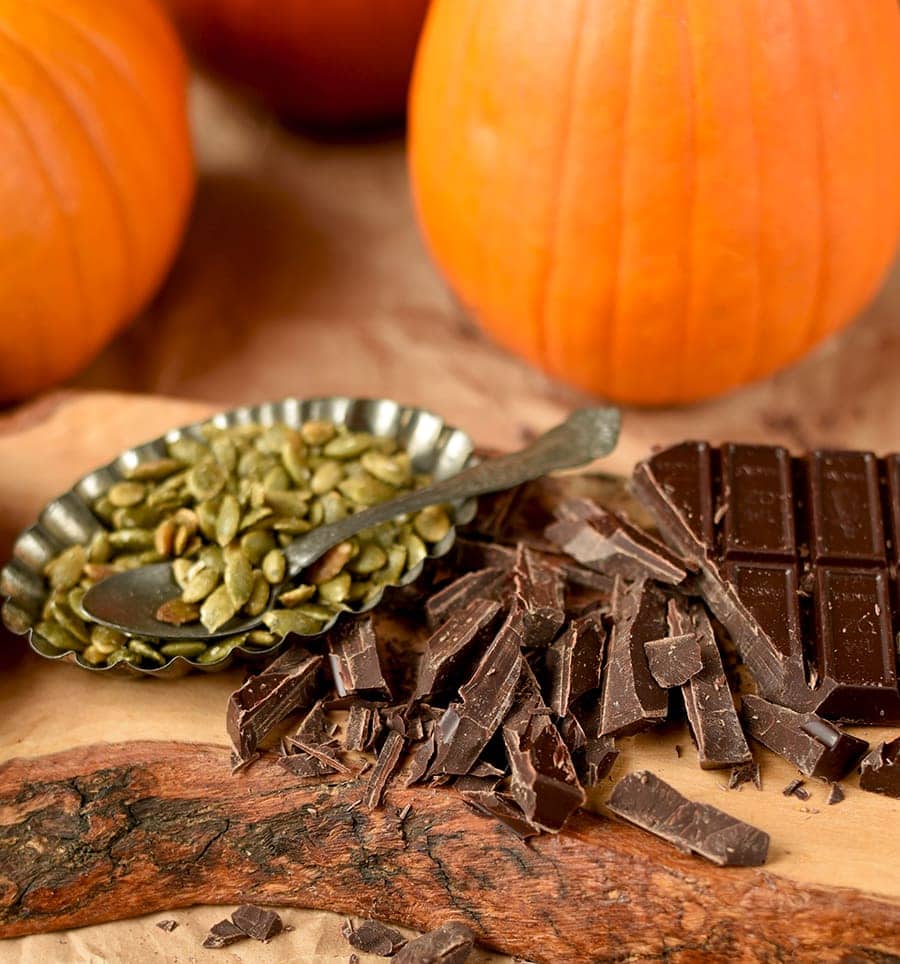
At this point I was also testing out the idea of having a waste free dessert of sorts. I had pumpkin seeds leftover from Halloween, so the idea was to use the seeds to make the crust. Lo and behold it actually worked! It held together, tasted good and popped out of the tart pan nicely. But just one thing was bothering me. The outer hull of the pumpkin seeds were fibrous and I wasn’t too fond of the stick-in-your-teeth feeling. But overall, the consensus among my taste testers was that this dessert had amazing flavor.
So, I switched to pepitas and the crust didn’t want to hold together. I’m guessing the hull had some sticky-gluey tendencies like flax seeds, so I tried another round with the addition of flax seeds. This time, it mostly held together but crumbled when the tart was cut. So I made a couple minor changes and switched to individual tart pans.
Finally, I had a dessert that was delicious, foodie, nut-free and gluten free! But guess what? By the time the recipe was ready, the holidays were nearly over, so I shelved the recipe for later.
I’m so glad I waited! A little bit of genius struck as I was making this recipe to photograph it. I thought about the leftover portion of squash I had in the fridge from my recent Fall Harvest Kale Salad recipe. You know, I’m the gadget queen and my house is filed to the brim with every utensil, machine, mold and cutter known to man.
As I was thinking about that squash, my mini leaf cutters came to mind. I guess it’s good to be a kitchen gadget hoarder because the idea was too cute to pass up. I was pretty sure I could make little pumpkin leaves to top these tarts. So I sliced the squash thinly, cut out the leaves and gave them little veins with a pairing knife. Then into the toaster oven they went on the dehydrate setting.
When I came back to check on them the next day, would they look like leaves?
The answer was a resounding YES! They look like real, miniature leaves! And trust me I have first hand experience from raking up maple leaves for hours and hours Veterans Day weekend! Good ideas come to those that wait!
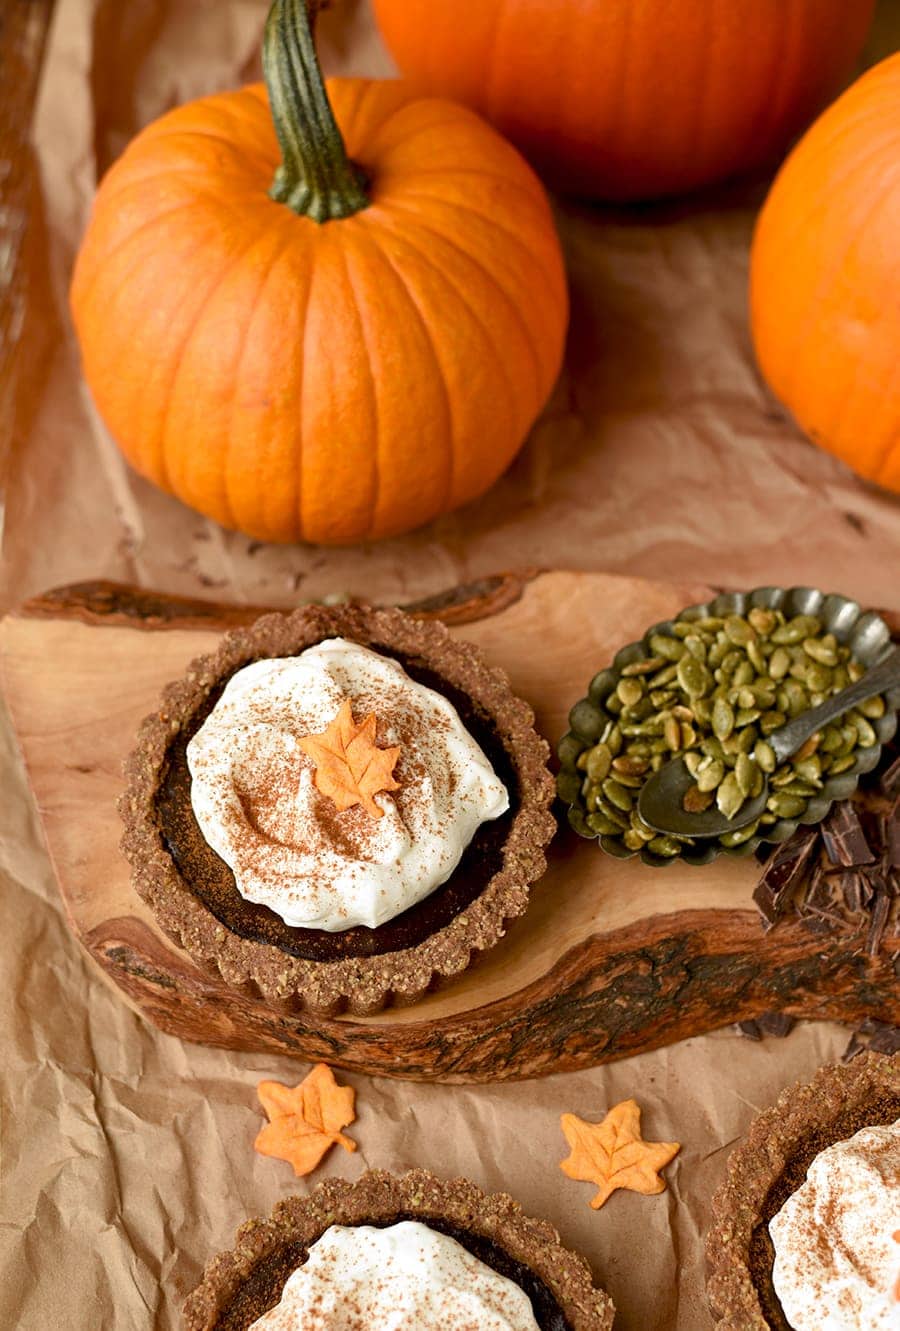
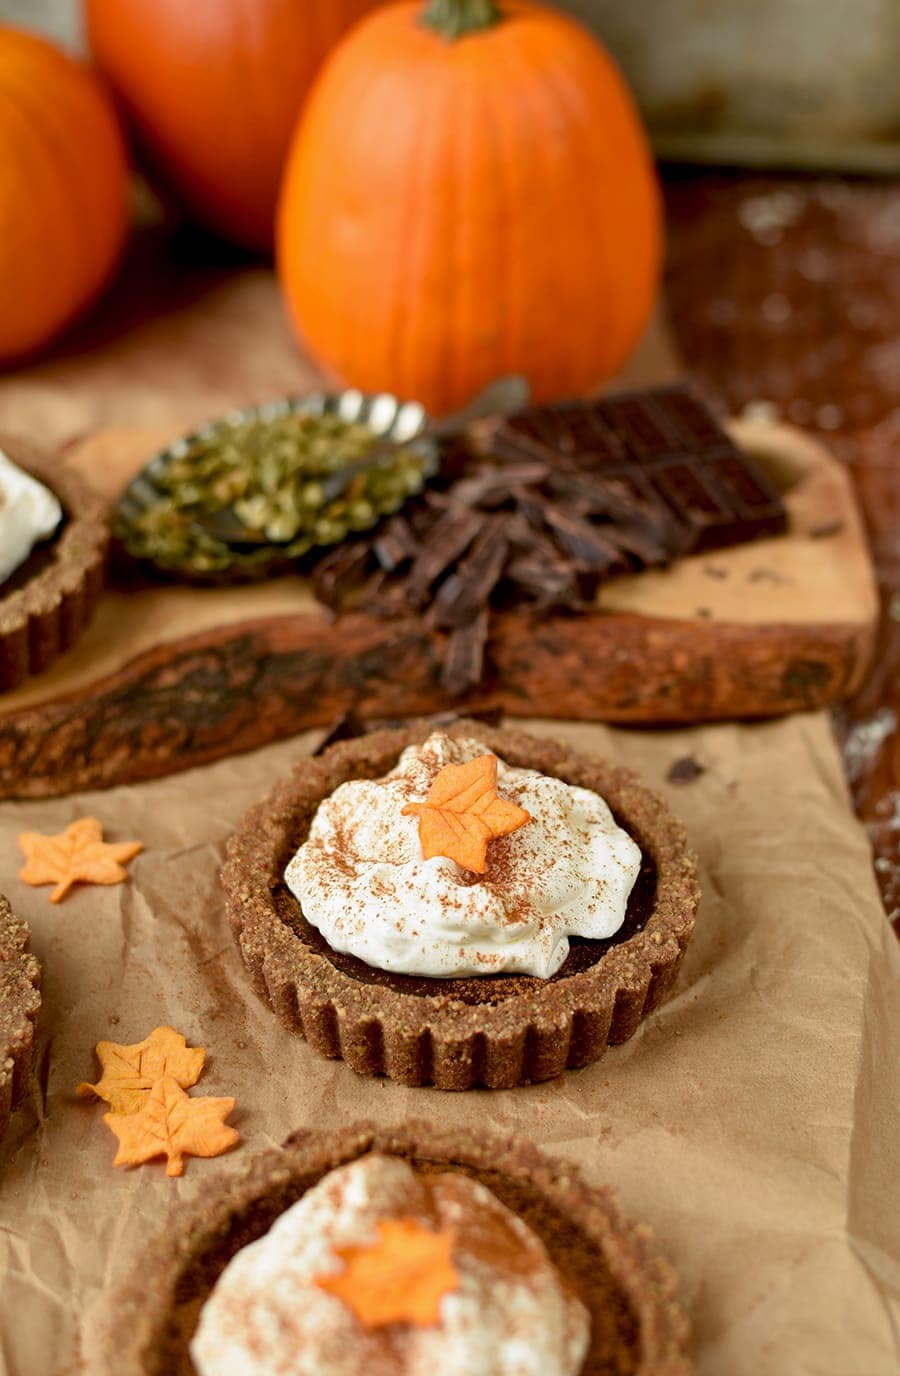
The end result is perfection! The little squash leaves give a hint what’s inside the dark chocolate custard. Plus it’s a decorative element that suits this dessert. It proves that thinking outside of the box isn’t always easy, but you can make gorgeous desserts will natural ingredients.
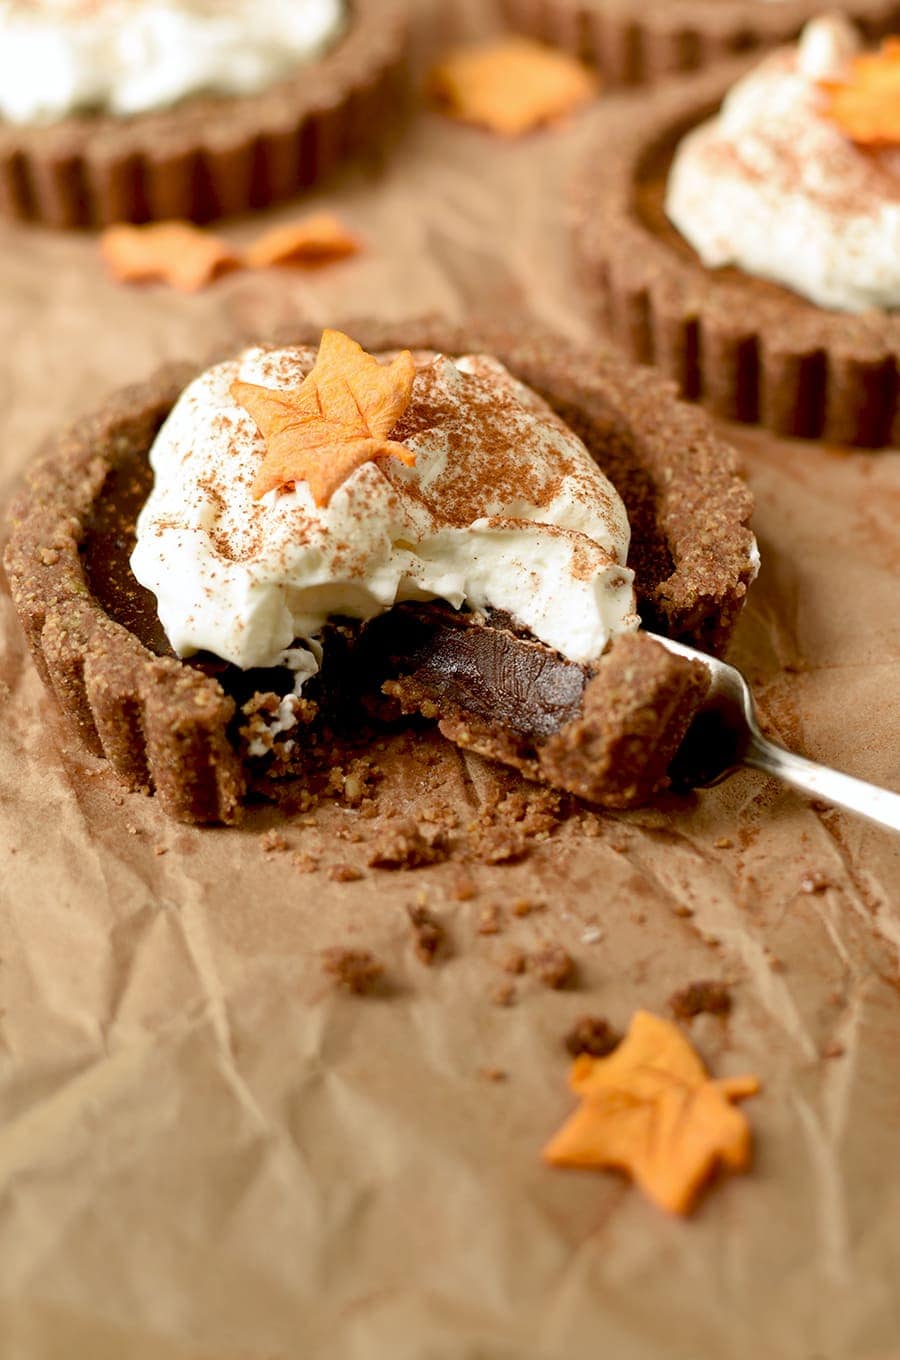
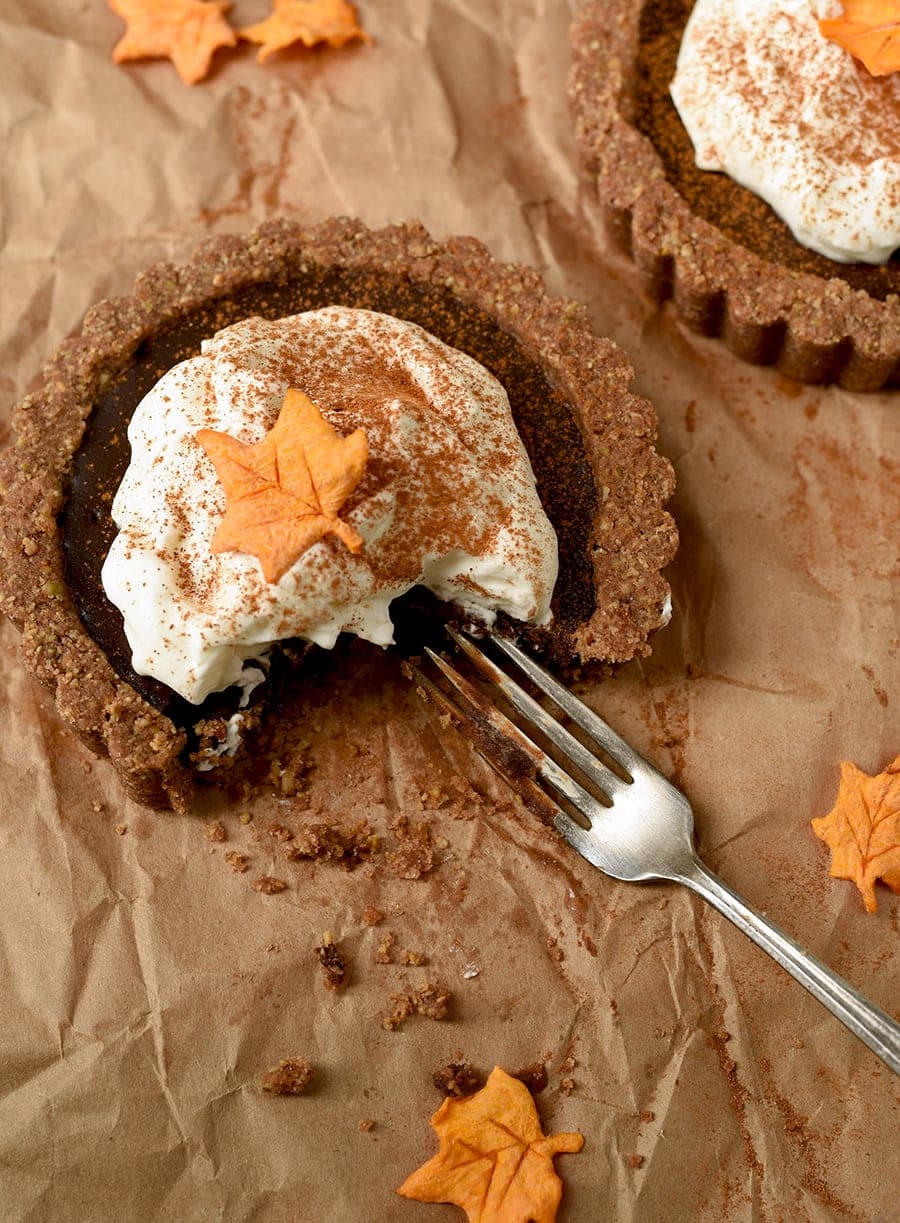
So yeah it looks pretty, but the taste? OMG people! This chocolate pumpkin custard is so incredibly melt-in-your-mouth creamy just like you’d expect, but there are all these extra warm, autumn flavor notes because of the cinnamon and pureed pumpkin.
The crust has a cookie texture which is a total plus! That bit of crunch is a welcome complement to the smooth filling. It’s incredibly nutty because of the pepitas and flax seeds but of course is nut-free and gluten-free. But trust me, you won’t notice what’s missing, but what’s gained with these unique pumpkin chocolate tarts!
Questions or comments? We know the holidays are fraught with baking dilemmas, so leave us a comment below. We’re here to help!
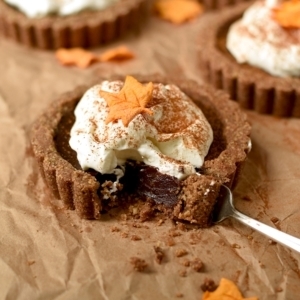
Pumpkin Chocolate Tarts with Pepita Crust
Ingredients
Tart Crust
- 1/2 cup butter
- 2 teaspoons flax seeds, finely ground
- 1-1/3 cup pepitas
- 3/4 cup rice flour
- 3/4 cup sugar
- 1/2 teaspoon cinnamon
- 1-1/2 tablespoons cocoa powder
- 1/4 teaspoon sea salt
Pumpkin Chocolate Tart Filling
- 5/8 cup sugar
- 1/4 cup heavy cream
- 3/4 cup canned pumpkin
- pinch sea salt
- 4 tablespoons butter
- 1 teaspoon cinnamon
- 9 ounces semi-sweet or bittersweet chocolate, chopped
- 1 ounce vanilla extract or liqueur or liqueur
- 3 eggs , beaten
Instructions
Tart Crust
- Preheat oven to 325F
- Melt butter.
- In a medium sized bowl combine ground flax seed and melted butter.
- Place pepitas, rice flour, sugar, cinnamon, cocoa powder and salt in the bowl of a food processor,
- Pulse mixture until the pepitas are ground.
- Add the ground mixture to the bowl with the butter and flax seeds and toss with a spoon until all the dry ingredients are moistened.
- Press crust into six 4.75 inch tartlet pans with removable bottoms.
- Place tarts in the freezer for 20 minutes.
- Line the tart crusts with foil and fill with dried beans or rice.
- Bake 25 minutes.
Filling
- While the crusts are baking, combine sugar, cream, sea salt, butter and cinnamon in a medium sized sauce pan.
- Heat over medium low heat, stirring occasionally.
- When the mixture comes to a simmer, turn off the heat and add chocolate, stirring until it's all melted.
- Stir in vanilla extract.
- Whisk in eggs, stirring until the filling is smooth.
- Once the tart crusts are done blind baking, gently pull out the foil and beans.
- Pour filling equally among the tart shells, being careful to leave about a 1/8th inch crust exposed above the filling.
- Bake until the custard is set, but still has a slight wobble in the middle, about 20-25 minutes.
- Let tarts cool 10-15 minutes and then gently remove from tart pans.
- Place tarts in an airtight container, and refrigerate.
- Bring to room temperature before serving.
- If desired serve with whipped cream, a sprinkle of cinnamon and pumpkin leaves.
Notes
- I have found flax seeds incredibly hard to grind up. The best tool I've come across for grinding a small amount of flax seeds (or spices) is an electric blade coffee grinder.
- Make sure to not overfill your tart shells. The custard will rise in the oven as it bakes. I had about a 1/4 cup of filling left over. It can be baked in the oven in a small heatproof cup.
- To make leaves, chop off the top half of a butternut squash. Peel it and cut large slices, a little thinner than a knife blade. Using mini leaf cookie cutters, cut out leaves. Using a pairing knife, make vein marks on the leaves, not pressing all the way through. Place the leaves on a cookie sheet covered with parchment. Dehydrate in a warm oven, with the convection fan running. If the oven seems too hot, prop open the door a little to vent the heat. Times will vary, but I did mine on the dehydrate setting of my toaster oven for 12 hours.
Nutrition
You might also like:
This cake takes the fuss out of making a cake from scratch. In about an hour you can put together this delicious dessert.

You will love this festive, sweet and fruity Fall Cider Sangria! It is elegant while still being fun.
This Gingerbread Granola is super easy to make and great for snacking, yogurt parfaits or as a thoughtful homemade gift. Gingery, sweet, crunchy, nutty and so good, you’ll want to eat this granola all year long!



Meg | Meg is Well says
These are stunning and sound so delicious. You have stamina, I would have given up but I”m so glad you didn’t!
Vintage Kitty says
Thanks Meg! I’m not sure if it’s stamina or procrastination. I’m not afraid to put away a recipe that’s not working and come back to it later. You have to cook with love and not frustration. LOL!