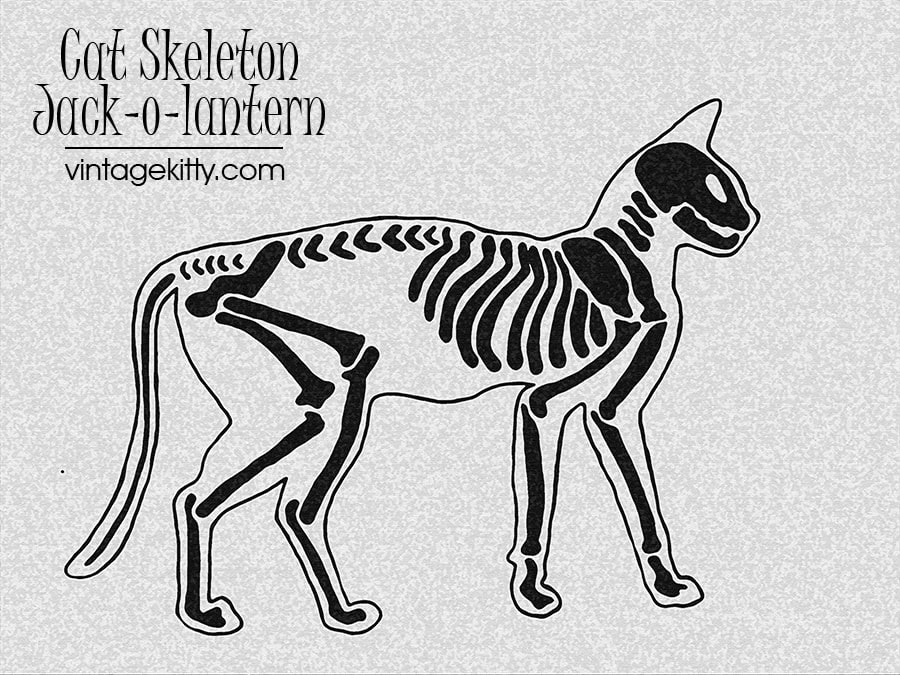
Carve an awesome jack-o-lantern this Halloween with this free printable pumpkin carving pattern.
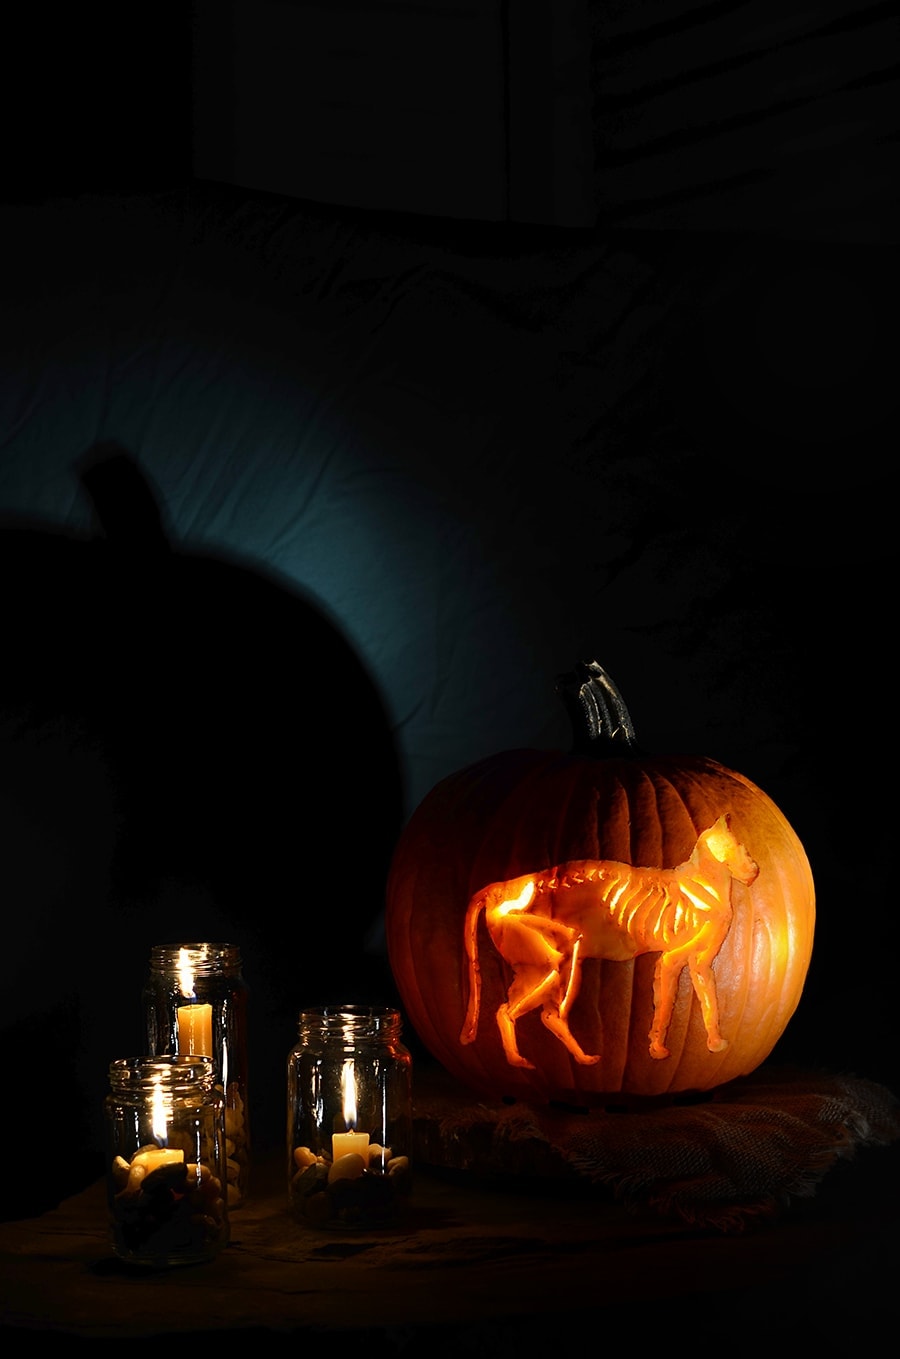
This spooky cat skeleton will wow trick-or-treaters! If you’re a pro-cat-stinator looking for a last minute jack-o-lantern idea, follow the tips below.
I decided to have a little vintage kitty fun for Halloween…get it vintage kitty? So, I made up this fun pattern based on a vintage picture I found.
It’s a simplified, stylistic skeleton. Anything anatomically correct would be too hard to carve. But even this version requires intermediate pumpkin carving skills. I guess you could say it’s a pumpkin carving pattern for adults who still like to Halloween like a kid. Yes, that would be me!
But I hope someone else out there will also enjoy a little challenge. Follow my tips below and have fun!
PUMPKIN CARVING TIPS
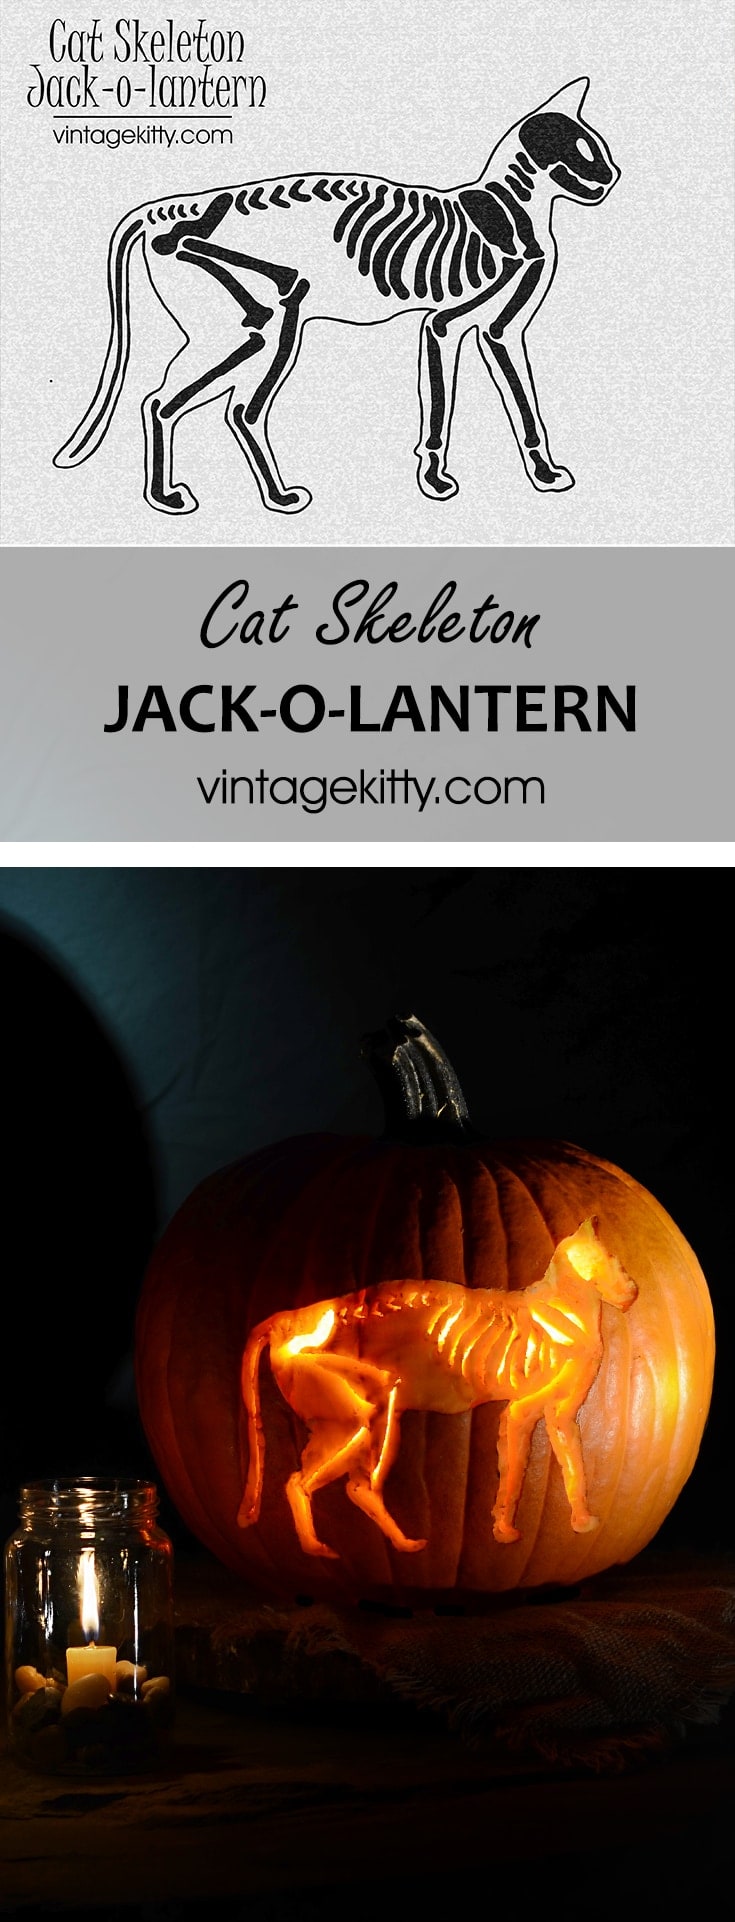
- Print out your free pumpkin carving pattern.
- Because this design is filled with small areas to cut out, I made the pumpkin carving pattern into a stencil by cutting out the skeleton.
- Clean the pumpkin with soap or a little rubbing alcohol to remove any dirt or wax. (I forgot this step and ended up with sharpie all over my hands!)
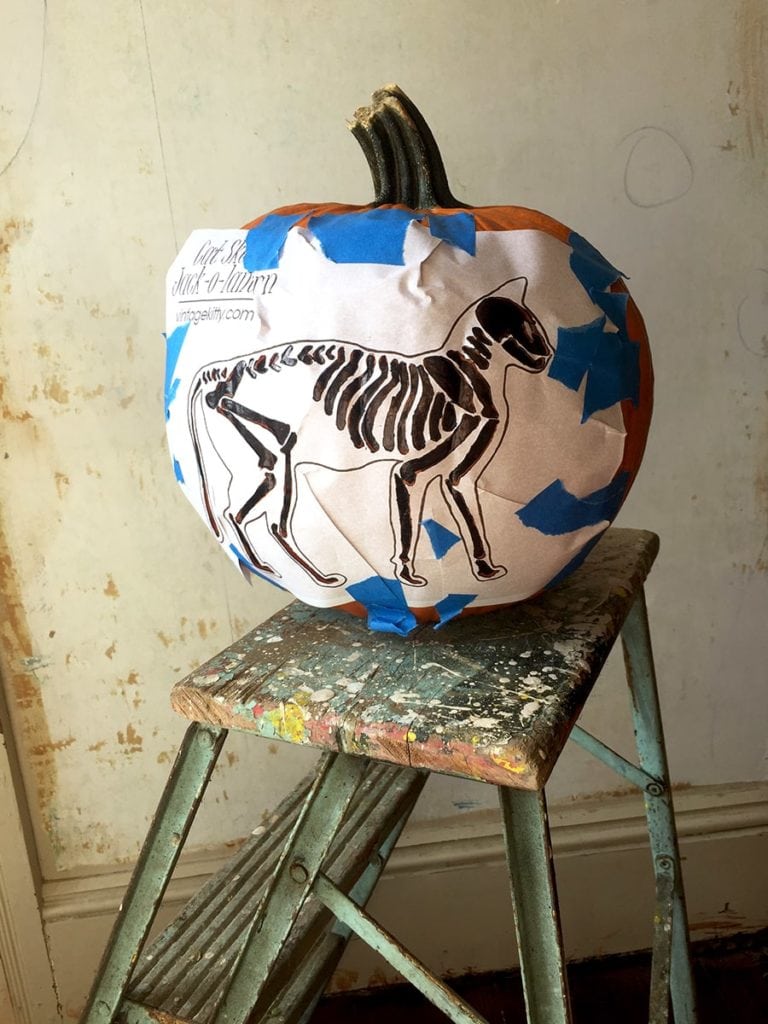
- Tape the stencil on the pumpkin, shaping it to the curve of the pumpkin. Notice that I cut the paper to aide in this process.
- Carefully stencil the skeleton onto the pumpkin with a sharpie.
- Now using a skewer, poke holes along the cat outline. (you can also use one of those pumpkin carving tool sets).
- Cut a hole in the bottom of the pumpkin and clean out the goop and seeds.
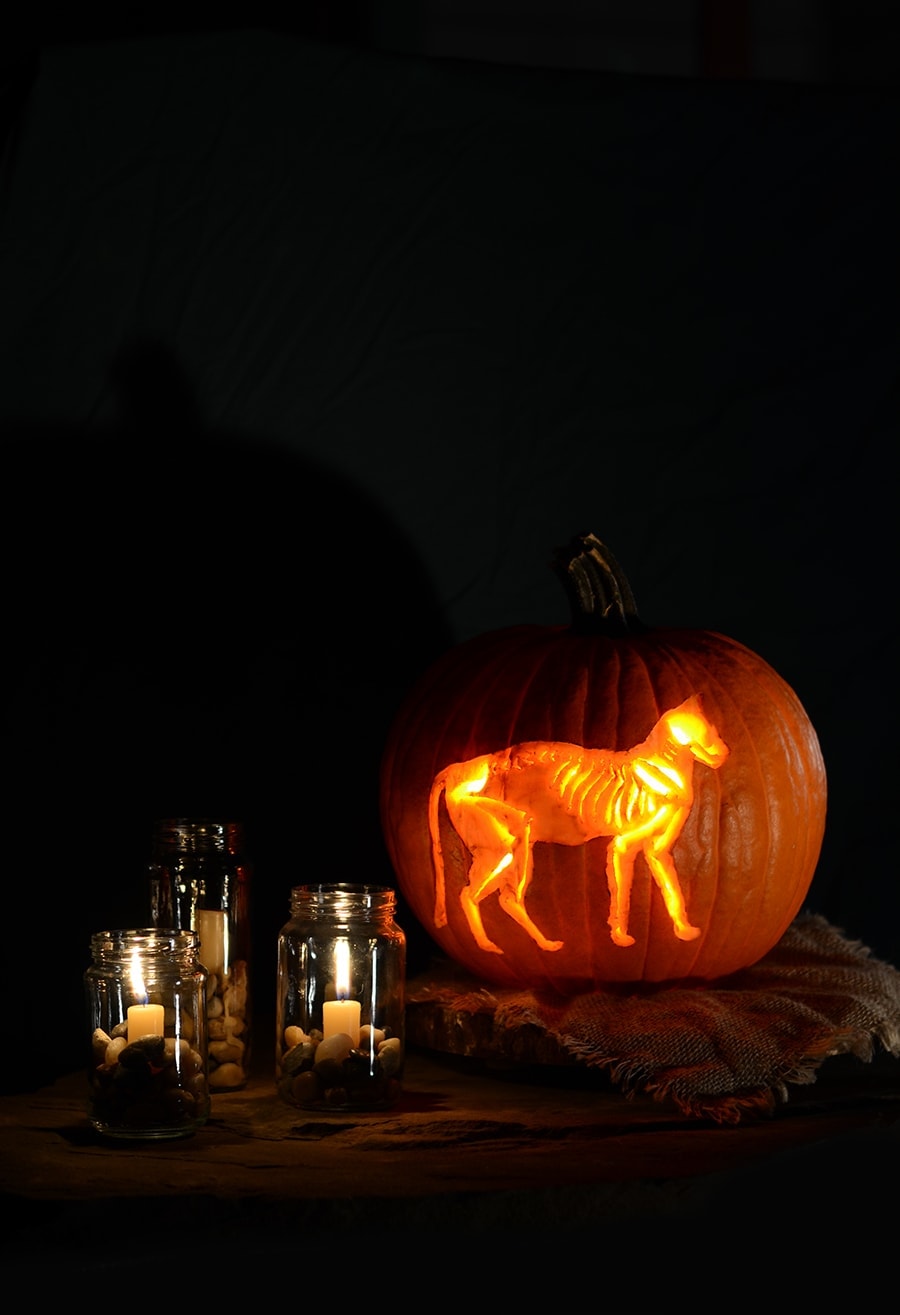
- Now you’re set to carve your pumpkin. I chose to carve out the skeleton and then scrape away pumpkin skin for the cat body. But I’m not sure this was the best method. You could just carve the outline for the cat instead or do the reverse with the cat body being carved thin and the skeleton being the dark, unlit part…does that make sense? There are many ways to skin a cat…hahaha…sorry not sorry…but you get my drift. Choose the method of carving that best suits your skills and interests.
- When cutting out skinny bones, I found it helpful to pierce holes in the top and bottom of the bone and then cut them out by sawing between the holes. If you choose to do this, poke all your holes first so your’re less likely to break your intricate carving.
- Don’t rush and be gentle. It’s easy to break the remaining pumpkin flesh if you aren’t careful.
- Cut out the smallest parts first and then move on to the larger pieces.
- Put a battery powered candle in your pumpkin and enjoy the light show!
You might also like:
Mocha coconut buttercream tops layers of rich, fudgy chocolate coconut cake. Hauntingly delicious!
This cake takes the fuss out of making a cake from scratch. In about an hour you can put together this delicious dessert.

Learn how to make a tombstone prop from a vintage mirror! Make your Halloween extra spooky!


Ted says
This is such a great idea, and very easy to do. I’m going to have to find more for next Halloween.
Vintage Kitty says
There will probably be a new one here next Halloween, so check back Ted!